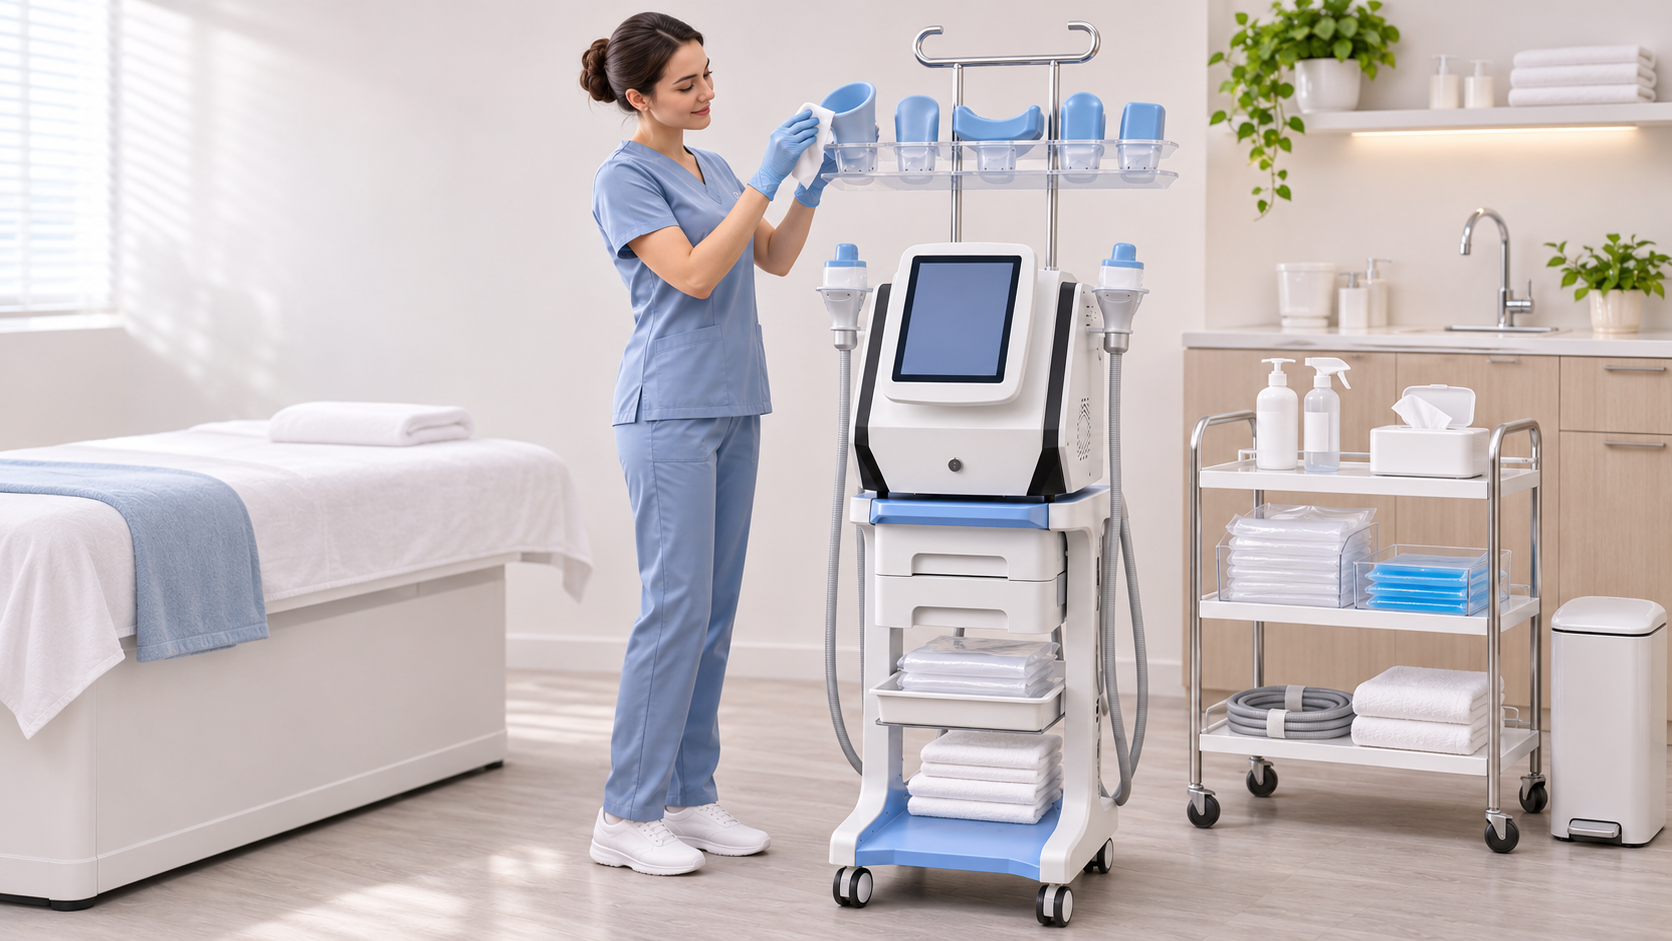
A compact cryolipolysis machine does not automatically create a compact workflow. The treatment bed, S10 unit, two applicator lines, clean tips, used accessories, protective consumables, photography space, and operator movement all compete for room. Without a defined layout, hoses cross walkways, clean and used items mix, and appointment turnover becomes inconsistent.
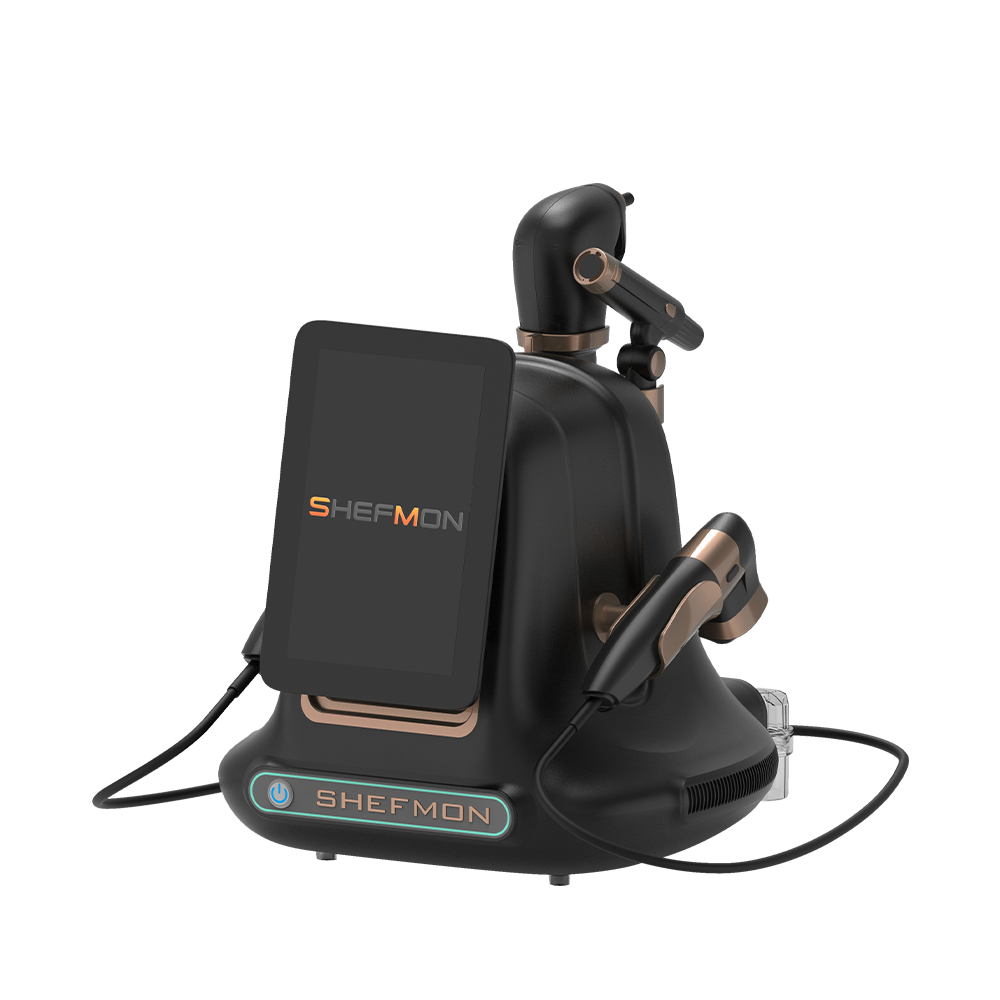
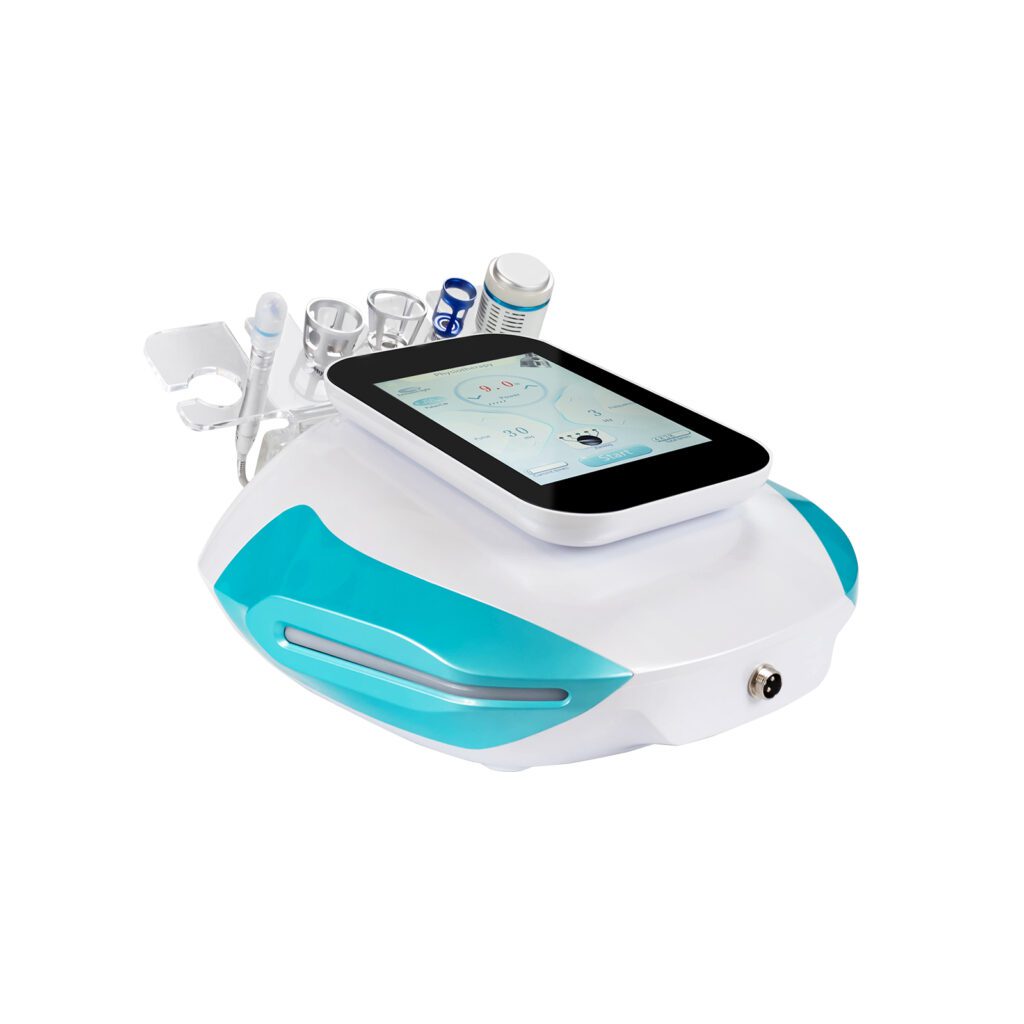
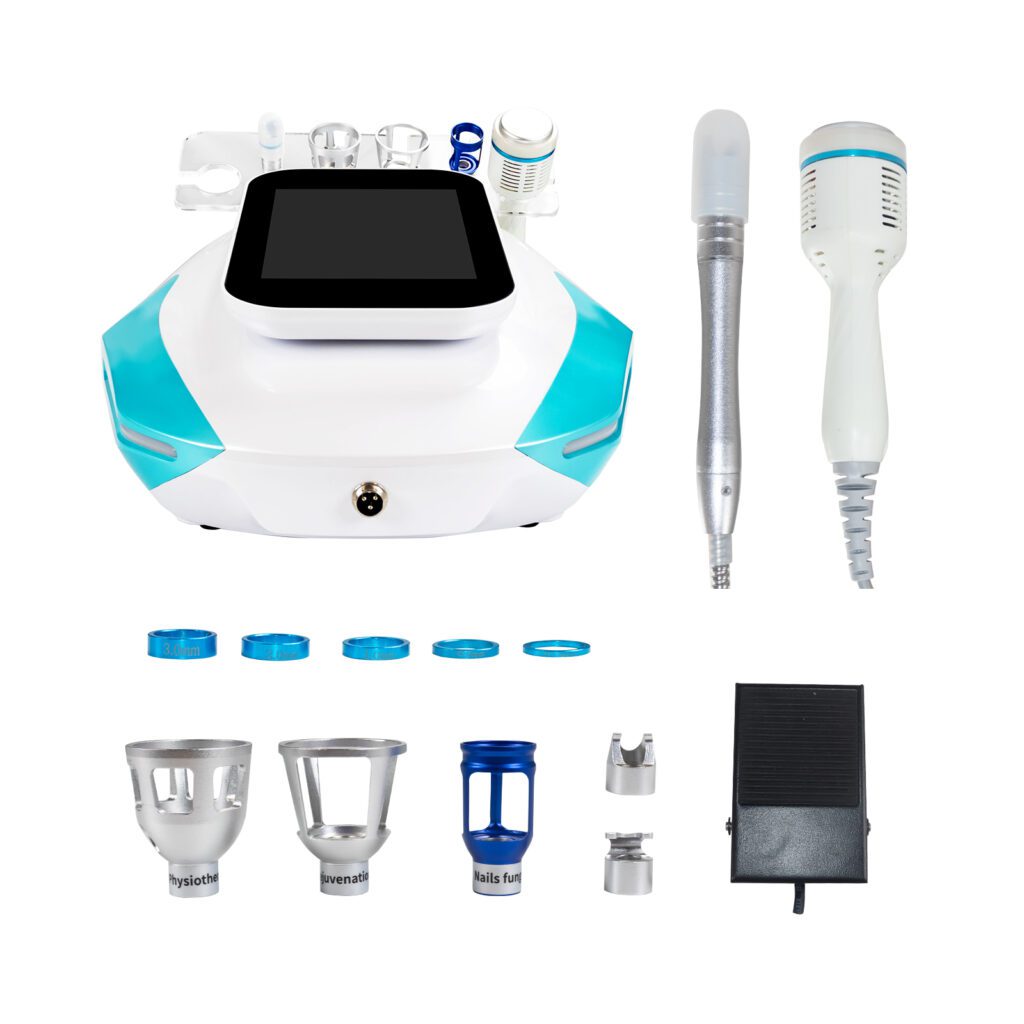
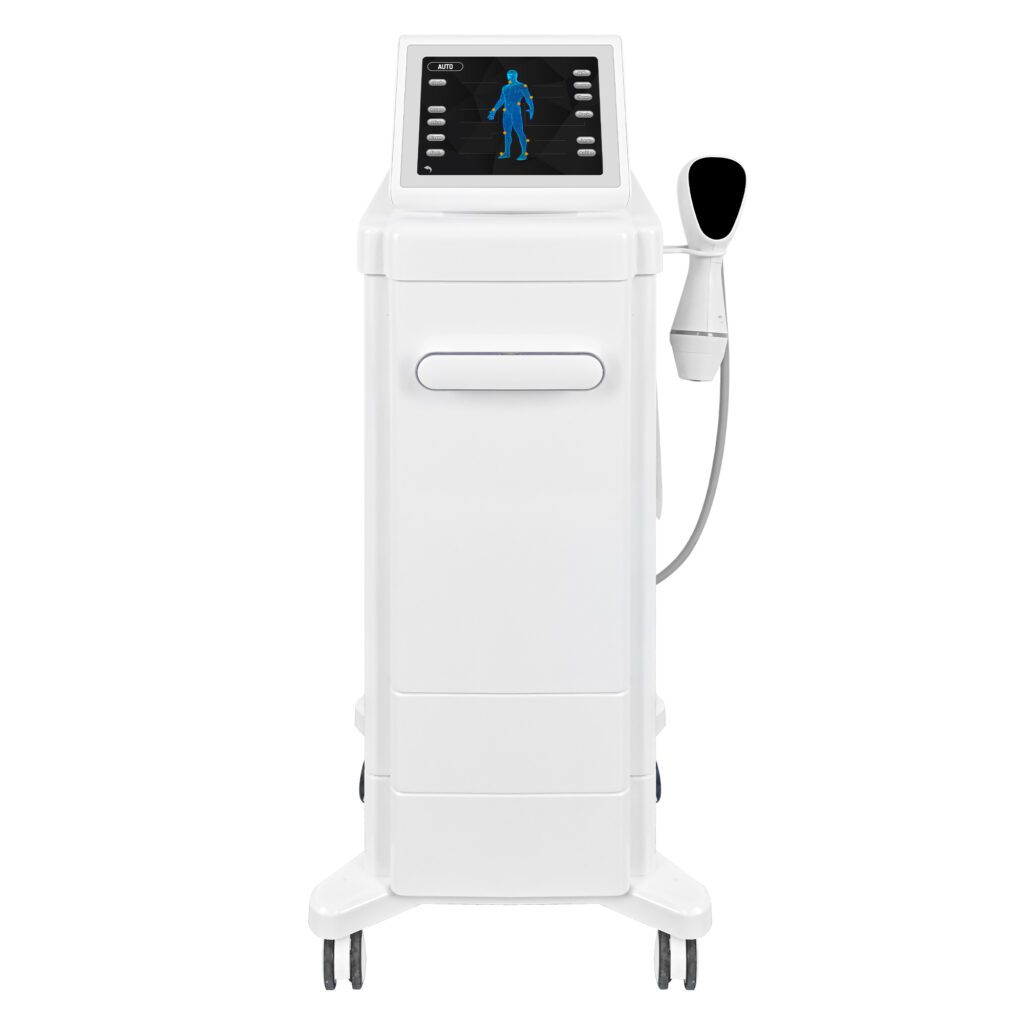
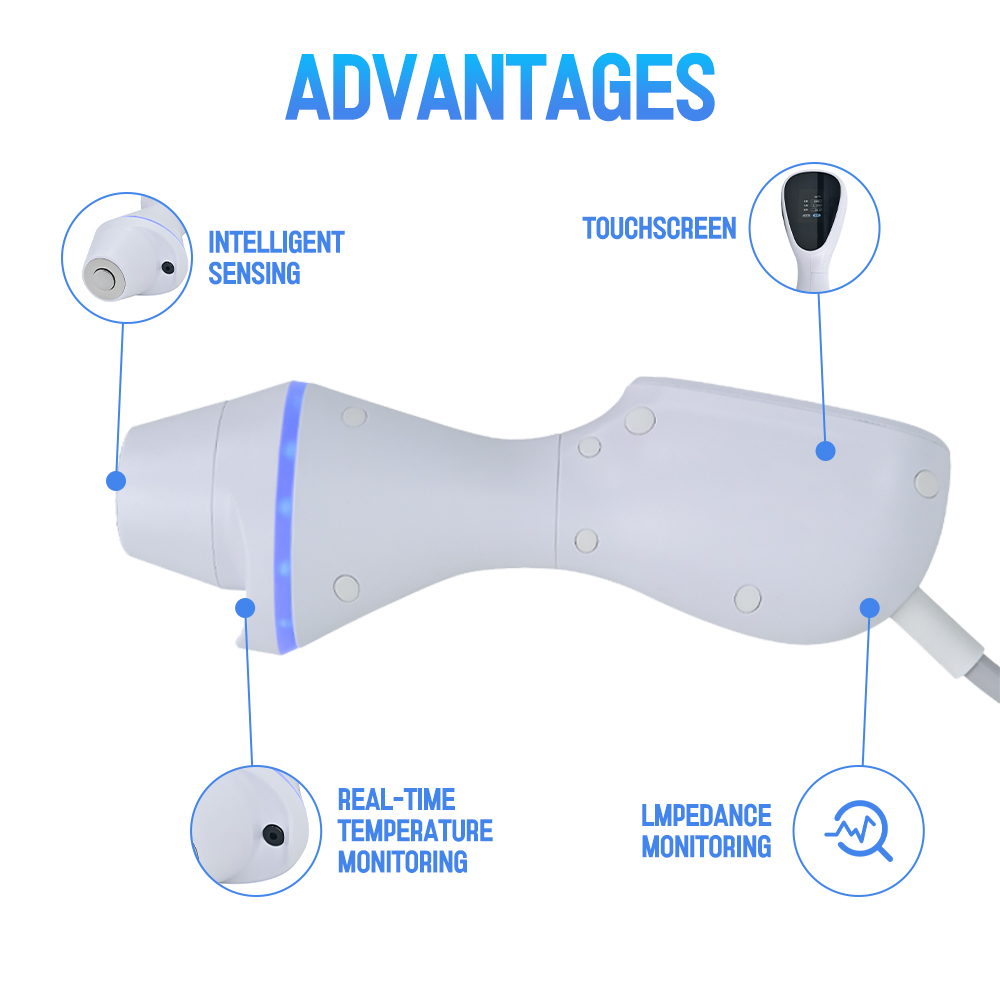
O SHEFMON S10 portable cryolipolysis machine is listed as a two-handle system with 360-degree all-around cooling technology and multiple tips. This guide shows small salons and body contouring studios how to organize one professional S10 room, store applicators and tips between appointments, and build repeatable opening, treatment, turnover, and closing workflows.
The article is an operational planning guide, not a substitute for the supplied manual, professional training, local infection-control rules, electrical requirements, or client-specific treatment decisions.
Sumário executivo
- Divide the room into clean storage, active treatment, used-item processing, and fault-quarantine zones.
- Position S10 so the operator can see the screen, reach the client, and keep both applicator lines away from wheels and walkways.
- Store clean, dry applicators and tips in labeled locations that prevent drops, crushing, sharp bends, and connector contamination.
- Never return a used item directly to clean storage; follow the device manual for compatible cleaning and disinfection methods.
- Use opening, between-client, and closing checklists rather than relying on memory.
- Label each handle, tip, placement, and record when two applicators are used in one appointment.
- Remove damaged or questionable equipment from service and isolate it until qualified technical review.
- Treat cryolipolysis as localized body contouring for suitable clients, not obesity treatment or general weight loss.
1. Start With the Actual S10 Configuration
The current S10 product page lists the following public information:
| Item | Current public S10 information |
|---|---|
| Formatar | Máquina portátil de criolipólise com duas alças. |
| Tecnologia | Tecnologia de resfriamento completa de 360 graus |
| Mostrar | Tela sensível ao toque de 10,4 polegadas |
| Pontas | Standard 5, maximum 7 listed |
| Tensão | AC110V/220V, 50–60Hz |
| Potência de saída | 1000W listed |
| Controls | Cooling, heating, vacuum, and setting-time controls listed |
These details help a buyer plan space and inventory, but they do not define the final room. Before installation, confirm the exact unit, included applicators and tips, cable and hose lengths, plug, voltage, package contents, consumables, manual, maintenance instructions, and any stand or holder supplied in the quotation.
Do not order wall racks or build fitted cabinetry from a website photograph alone. Dimensions, connectors, and accessories can vary by quoted configuration. The Categoria de Criolipólise SHEFMON can help buyers compare the wider equipment range, while the final layout should follow the purchased S10 documentation.
2. Divide the Room Into Four Operating Zones
A one-room studio works better when every object has a status and a location.
Zone A: clean storage
Use an enclosed cabinet, covered drawer system, or other clean storage appropriate to local rules for dry applicators, tips, approved consumables, clean linens, forms, and photography tools. Keep items off the floor and away from splash, dust, direct heat, and client belongings.
Clean storage should contain only processed, inspected, ready-to-use items. If staff cannot tell whether an accessory is clean, it should not be placed in this zone.
Zone B: active treatment
This zone includes the treatment bed, S10 unit, operator working side, active applicator lines, and supplies needed for the current appointment. Keep only the required tips and consumables at the bed to reduce clutter and handling errors.
The operator should be able to view the client and screen without stepping over a hose. Controls, emergency stop functions if present, and the power connection must remain accessible according to the manual.
Zone C: used-item processing
Create a clearly marked location for accessories awaiting cleaning or disinfection. It should be physically separate from clean storage and positioned so a used item does not travel across open clean supplies.
Use a stable, cleanable surface or labeled container suitable for the item and local protocol. Do not put wet applicators, used tips, or soiled materials directly on the treatment bed, floor, or clean cabinet.
Zone D: fault quarantine
Reserve a labeled container, shelf, or protected area for items removed from service. A cracked housing, damaged seal, loose connector, abnormal vacuum behavior, persistent alarm, leaking line, or uncertain cleaning history should trigger isolation and documentation.
“Do not use” status must be obvious to every employee. Fault quarantine is not spare storage; the item should remain separated until technical support or another qualified person clears, repairs, or replaces it.
3. Plan the Room Around Operator Movement
S10 may have portable positioning, but it still needs a stable operating location. A useful layout places the machine on the side where the trained operator can reach the screen and both target areas while maintaining a clear route to the door.
| Room element | Placement goal | Common mistake to avoid |
|---|---|---|
| S10 unit | Stable, ventilated position within approved electrical reach | Blocking ventilation, stretching the power cable, or moving the unit during active use |
| Treatment bed | Enough access for assessment, placement, skin checks, and safe client entry | Pushing the bed so tightly against a wall that the operator cannot reach the treatment side |
| Applicator lines | Supported route from machine to client without sharp bends or floor contact | Running hoses under bed wheels or across the doorway |
| Clean cabinet | Close enough for preparation, outside the used-item path | Keeping clean tips on an open trolley beside used items |
| Processing surface | Near the exit from the active zone, separated from clean storage | Carrying used accessories over clean consumables |
| Photography point | Consistent background, lighting, position, and privacy | Taking progress photos in changing locations or blocking the treatment path |
| Client belongings | Dedicated hook, cabinet, or basket away from equipment | Placing bags or clothing on the machine or hose route |
Allow space for the applicator and line to remain supported when the client changes position. The room should also provide appropriate privacy, ventilation, temperature control, hand hygiene access, waste handling, and an escalation route consistent with local requirements.
4. Electrical and Environmental Setup
The S10 public page lists AC110V/220V, 50–60Hz and 1000W. The quotation and nameplate for the actual unit should determine the installation plan.
Before use, confirm:
- the supplied voltage and plug match the premises;
- the outlet, circuit, grounding, and any protective devices meet the manual and local electrical code;
- the cable can reach without an extension arrangement unless the manufacturer and a qualified electrical professional approve it;
- the power lead is not under the bed, trolley, or client chair;
- the main switch and disconnect route remain accessible;
- ventilation openings have the clearance required by the manual;
- the room stays within the specified environmental and storage conditions;
- liquids, wet processing, and open consumables are kept away from electrical connections.
Do not place S10 next to a sink merely because it shortens the cleaning route. Electrical safety and clean-to-used flow both matter. If the room cannot meet the supplied requirements, revise the room before scheduling clients.
5. Set Up the Bed, Trolley, and Two-Handle Workflow
The bed should support the client’s planned position without forcing the operator to lift, twist, or reach across unsupported hoses. Use positioning aids that are compatible with the clinic’s procedure and infection-control policy.
A small clean trolley can hold the current appointment’s items:
- the confirmed applicator or tips;
- manufacturer-specified protective interface or consumables;
- marking and measurement tools;
- gloves and other required protective supplies;
- the client’s placement map and record;
- approved aftercare information.
Do not use the trolley as permanent applicator storage. It moves through the active zone and may receive splash or contact during turnover.
For two-handle appointments, label the handles consistently, such as Handle A and Handle B, if the device or supplied workflow does not already provide identifiers. The record should show which tip and placement belonged to each handle. Route the two lines separately enough that staff can identify and stop one side without pulling the other.
Two handles do not mean two clients can be treated in one room at the same time. Staffing, monitoring, the supplied instructions, and local professional rules determine safe capacity.
6. Build an Applicator and Tip Inventory System
The product page lists five standard tips and a maximum of seven, so an S10 room needs more than a generic “handpiece drawer.” Create an inventory sheet based on what arrives with the unit.
For each applicator or tip, record:
- clinic asset ID;
- manufacturer name or size designation;
- compatible handle or connector, if applicable;
- intended area guidance from the supplied manual;
- date received and placed into service;
- inspection status;
- cleaning or processing status;
- damage, alarm, vacuum, or fit history;
- repair, replacement, or retirement status.
Use labels that do not cover sensors, seals, ventilation, warnings, or required markings. If adhesive labels are not allowed on an item, place the ID on its dedicated storage location and use the serial or supplied designation in records.
An inventory system prevents a missing or questionable tip from being substituted casually during an appointment. It also tells the studio which accessories are actually used before it orders optional tips.
7. Store Applicators, Tips, Hoses, and Connectors Correctly
Exact storage instructions must come from the S10 manual. The following principles help a clinic design storage without inventing device-specific rules.
Applicators and tips
- Store only after required cleaning, inspection, and complete drying.
- Give each item a stable, labeled position rather than stacking applicators together.
- Protect treatment surfaces, seals, cup edges, and connection points from impact and compression.
- Keep clean items away from used consumables, linens, chemicals, direct sunlight, heaters, and moisture.
- Do not place heavy supplies on top of an applicator or tip.
- Avoid leaving an applicator balanced on the machine, bed, or open trolley between clients.
Hoses and cables
- Support lines so their weight does not pull on the connector.
- Avoid tight coils, sharp bends, crushing, twisting, and contact with bed or trolley wheels.
- Do not hang the full weight of an applicator from its hose unless the supplied holder is designed for that purpose.
- Inspect the full visible length during opening and closing checks.
- Keep the routing consistent so staff notice new kinks, abrasion, or deformation.
Conectores
- Keep connectors clean, dry, protected, and free from lint or debris.
- Do not spray cleaning liquid directly into electrical, vacuum, fluid, or data connections.
- Use supplied caps or protective features when the manual requires them.
- Never force a connector that does not align or seat normally.
If staff are unsure whether an item has been processed or stored correctly, move it to the used-item or quarantine zone and resolve the status before the next client.
8. Separate Cleaning Instructions From General Room Cleaning
The public S10 page does not specify a universal cleaning agent, dilution, contact time, immersion method, or wipe material. Those details should come from the current manual, training, and applicable infection-control guidance.
Create a device-specific cleaning SOP that states:
- which surfaces contact the client;
- which parts are reusable, disposable, or single-client use;
- approved cleaning and disinfection products;
- required product preparation and contact time;
- whether any component can be immersed;
- how moisture is kept away from connectors and internal parts;
- how staff verify drying before storage;
- required personal protective equipment;
- what to do after visible soil, a spill, or damaged skin contact;
- where the completed item is stored;
- how the process is recorded.
Do not assume a product suitable for the bed is suitable for an applicator. Harsh chemicals, excess liquid, abrasive tools, or unauthorized immersion can damage surfaces, seals, sensors, adhesives, or electrical connections.
The FDA advises clients to ask how body-contouring devices are cleaned and whether disposable parts are replaced for each procedure. A visible, consistent processing workflow therefore supports both safety and client confidence.
9. Organize Consumables and Linen
Use a par-level system so the studio knows the minimum number of approved consumables needed for the next day. Track only items required by the supplied S10 protocol and local rules.
Possible inventory groups include:
- manufacturer-specified protective membranes, pads, wipes, or interfaces;
- approved applicator cleaning supplies;
- disposable barriers or protective covers where required;
- gloves and other operator protection;
- clean linens and positioning supplies;
- measurement and marking supplies;
- consent, treatment-record, and aftercare materials;
- approved waste bags or containers;
- spare parts or seals specifically identified by the manual.
Store clean linen separately from used linen and away from open chemicals. Rotate stock by expiry date where applicable, and do not use an alternative membrane, pad, gel, or barrier merely because it fits physically. Compatibility and thermal contact requirements are device-specific.
10. Opening Checklist Before the First Client
Assign the opening check to a named trained staff member and record completion.
Preparação do quarto
- Floor and working surfaces are dry, clean, and free of obstacles.
- Clean, used-item, and quarantine zones are correctly labeled and empty or ready.
- The bed is stable, clean, and positioned for the day’s planned areas.
- Photography area, privacy provisions, hand hygiene, and waste supplies are ready.
- Room temperature and ventilation are within the device instructions.
Machine readiness
- S10 is in its approved operating position with ventilation unobstructed.
- Power cable, plug, screen, housing, and visible connections show no damage.
- Applicator lines are supported and show no cuts, kinks, flattening, leaks, or unusual wear.
- Applicators and tips required for booked services are present, clean, dry, and inspected.
- Connectors seat normally and no part has an unresolved fault tag.
- Startup and self-check behavior follow the manual, with no unexplained alarm.
- Required consumables are compatible, in date, and sufficient for the schedule.
The opening check confirms readiness; it is not permission to bypass the client consultation or pre-treatment inspection.
11. Daily Client Workflow
Step 1: review the booking before room preparation
Confirm the planned area, whether one or two handles may be considered, the expected applicator options, and any information that requires provider review. Do not prepare a tip from the client’s requested body area alone; final fit follows assessment.
Step 2: complete consultation and screening
Cryolipolysis is localized body contouring, not obesity treatment or weight loss. Follow the supplied instructions and local professional guidance for screening. Cold-sensitivity disorders, poor circulation in the area, compromised skin, structural weakness or hernia concerns, altered sensation, previous surgery, and other relevant history may require exclusion, postponement, or medical review.
The FDA’s Visão geral da modelagem corporal não invasiva describes recognized cryolipolysis risks including redness, bruising, swelling, discomfort, discoloration, persistent numbness, freeze burns, nodules, paradoxical adipose hyperplasia, and hernia-related concerns. Use current consent materials and an escalation pathway.
Step 3: photograph, map, and confirm the area
Use consistent lighting, body position, distance, and measurement method with the client’s consent. Record the intended placement and applicator selection before beginning.
Step 4: prepare only the required items
Move the selected clean applicator or tip and compatible consumables from Zone A to the active trolley. Keep the remaining inventory covered and undisturbed.
Step 5: inspect fit and lines before activation
Confirm skin condition, protective interface, applicator fit, hose route, client position, and handle assignment according to the manual and provider protocol. A line should not pull, kink, or rest where the client or operator can trap it.
Step 6: monitor and document
The trained operator should follow the manual and client-specific plan for settings and monitoring. Record the actual handle, tip, placement, settings, observations, client feedback, and any interruption. Do not rely on a default setting or a previous client’s record.
Step 7: remove, inspect, and give aftercare
Follow the trained removal sequence, inspect the treatment area, document the response, and provide written aftercare and contact instructions. Explain which changes require prompt professional or medical review.
Step 8: move used items directly to Zone C
Do not place the applicator back in clean storage “for a moment.” Complete the device-specific processing workflow, inspect the item, allow required drying, document status, and only then return it to its labeled clean location.
12. Between-Client Turnover Checklist
Turnover includes more than changing bed linen.
- Confirm the previous client has left with records and aftercare completed.
- Dispose of single-use items according to instructions and local rules.
- Move reusable items through the approved cleaning and disinfection process.
- Inspect applicator surfaces, edges, seals, lines, and connectors after processing.
- Allow required contact and drying time; do not shorten it to protect the schedule.
- Clean and reset the bed, trolley, touchpoints, photography aids, and approved machine surfaces.
- Replace clean linen and restock only what the next appointment requires.
- Confirm used and clean items have not crossed paths.
- Record any fault, alarm, unusual odor, moisture, vacuum behavior, or client incident.
- Recalculate whether the room can safely start the next appointment on time.
If correct turnover makes the next appointment late, adjust the schedule. Skipping processing or drying is not an acceptable way to recover time.
13. Closing Workflow at the End of the Day
Follow the manual for shutdown, depressurization, draining, or other device-specific steps if applicable. A practical closing sequence is:
- Confirm all client records and fault notes are complete.
- Process and dry every reusable applicator and tip.
- Inspect hoses, connectors, seals, treatment surfaces, and housings.
- Return clean items to labeled storage without tight bends or stacked weight.
- Move any questionable item into fault quarantine with date, issue, and reporter.
- Dispose of waste and move used linen out of the clean zone.
- Clean the bed, trolley, approved machine surfaces, storage handles, and room touchpoints.
- Count consumables against the next schedule and note reorder needs.
- Shut down and secure S10 according to the supplied instructions.
- Leave the room dry, uncluttered, and ready for the next opening check.
Do not close the cabinet on damp equipment. Complete drying and clear status are part of closing, not tasks to leave for the next operator.
14. Weekly and Periodic Workflow
Daily cleaning does not replace preventive maintenance. Build a calendar from the manual and supplier instructions.
Weekly or scheduled tasks may include:
- deeper inspection of all visible hose and cable lengths;
- cleaning storage shelves and checking separation of clean and quarantined items;
- reconciling applicator and tip inventory;
- reviewing alarm and fault logs;
- checking consumable expiry and par levels;
- auditing records for handle, tip, placement, and setting traceability;
- inspecting room ventilation and electrical access;
- confirming staff can locate the manual, emergency process, and technical support contact;
- reviewing whether the appointment template allows enough turnover time.
Only perform maintenance that the operator is authorized and trained to perform. Internal repair, calibration, software service, fluid-system work, or replacement of technical components should follow SHEFMON guidance and qualified service procedures.
15. Faults, Spills, and Incident Escalation
Staff need a stop-work rule that is stronger than the desire to keep the schedule running.
Stop or do not begin use when there is:
- a damaged power lead, plug, housing, hose, connector, seal, or applicator surface;
- liquid where the manual does not permit it;
- an unexplained alarm or failed startup check;
- abnormal noise, odor, heat, vacuum, cooling, or display behavior;
- a tip that does not fit or identify correctly;
- uncertain cleaning or drying status;
- client pain, skin response, or other change outside the trained protocol;
- a previous incident that has not been reviewed.
Record the unit or accessory ID, time, appointment, observed issue, action taken, and person notified. Isolate the item and contact technical support when required. Do not swap parts between systems unless compatibility is confirmed by the supplied documentation or SHEFMON.
16. Match the Appointment Book to the Room Workflow
S10’s two handles can support a practical service menu, but the schedule must include non-treatment time. Reserve blocks for consultation, photography, marking, consumable placement, applicator fit, monitored procedure time, removal, assessment, aftercare, processing, drying, and room reset.
Avoid back-to-back appointments built only around the active setting time shown on the screen. The room is unavailable until turnover is complete.
A simple booking structure can include:
- S10 Consultation and Body Mapping;
- S10 Single-Area Cryolipolysis;
- S10 Selected Paired-Area Plan;
- S10 Staged Multi-Zone Plan;
- S10 Progress Review.
For service-menu design, clinics can also review SHEFMON’s guide to cryolipolysis cooling technology, results, and safety. Commercial package names should never replace client screening or the supplied operating protocol.
17. Buyer Checklist for Room and Storage Planning
Before ordering or installing S10, ask SHEFMON to confirm:
- exact machine dimensions, weight, and clearance requirements;
- delivered voltage, plug, power, and electrical instructions;
- included applicators, tips, holders, caps, lines, and accessories;
- intended area guidance for every supplied tip;
- approved protective interfaces and other consumables;
- cleaning, disinfection, drying, and storage instructions;
- environmental operating and storage ranges;
- startup, shutdown, alarm, and fault procedures;
- daily inspection and preventive-maintenance schedule;
- parts that users may and may not service;
- warranty, spare parts, repair, and technical-support route;
- training materials and destination-market documents.
The public product page is the starting point. Cabinet dimensions, holder design, cleaning SOPs, and appointment templates should be finalized only after the studio receives the exact purchased configuration and manual.
Perguntas frequentes
1. How much space does an S10 cryolipolysis room need?
The public product page does not provide a universal room-size requirement. Plan around the exact machine dimensions, treatment bed, operator access, two hose routes, clean storage, used-item processing, photography, privacy, and local requirements. Confirm clearances from the supplied manual.
2. Where should S10 be placed in the room?
Place it on a stable surface or approved mobile base where the operator can see the screen and client without stretching power or applicator lines. Keep ventilation, controls, and the route to disconnect power accessible.
3. Can applicators remain on the treatment trolley between clients?
The trolley is part of the active treatment zone, so it is not ideal as permanent clean storage. After approved processing, drying, and inspection, return applicators to protected, labeled storage specified by the clinic SOP and manual.
4. How should cryolipolysis hoses be stored?
Follow the S10 manual. In general, support them without tight coils, sharp bends, twisting, crushing, wheel contact, or the applicator’s full weight pulling on the connector.
5. Can the clinic use any disinfectant on S10 applicators?
No assumption should be made. Use only products and methods compatible with the supplied equipment instructions and local infection-control requirements. Bed-surface disinfectant may damage an applicator, seal, sensor, or connector.
6. Should tips be labeled by treatment area?
Use the manufacturer’s size or area guidance and an inventory ID. Do not create a label that implies one tip is suitable for every client in a named body area; fit still requires professional assessment.
7. What should happen if an applicator is dropped?
Remove it from use, label it, document the event, and follow the inspection or technical-support process in the manual. Do not return it to service based only on an unchanged external appearance.
8. How much time should be booked between S10 clients?
There is no universal turnover time. The booking template must allow the complete approved cleaning, disinfection, contact, drying, inspection, record, linen, and room-reset process for the clinic’s actual configuration.
9. Do two S10 handles allow two clients at once?
No. Two handles belong to one machine workflow. Client capacity depends on the supplied instructions, trained monitoring, room policy, and local rules. Two-handle use should be documented by handle, tip, and placement.
10. What records should the room maintain?
Maintain client screening and treatment records, handle and tip traceability, settings selected by the trained provider, processing status, opening and closing checks, consumable logs, faults, incidents, maintenance, repairs, and staff training records as required locally.
Conclusão
An efficient S10 room is built around status control: clean items stay protected, active items stay organized, used items move directly to processing, and questionable items move into quarantine. That separation makes a small room easier to operate and reduces the chance that hoses, applicators, consumables, or records are handled inconsistently.
The best daily workflow begins before the first client and continues after the last one. Opening checks, client-specific preparation, monitored two-handle use, complete turnover, dry storage, closing inspection, and preventive maintenance all support a more professional cryolipolysis service.
Review the current SHEFMON S10 product page ou contate SHEFMON to confirm the exact applicator configuration, room requirements, cleaning instructions, training, and technical support for the purchased unit.