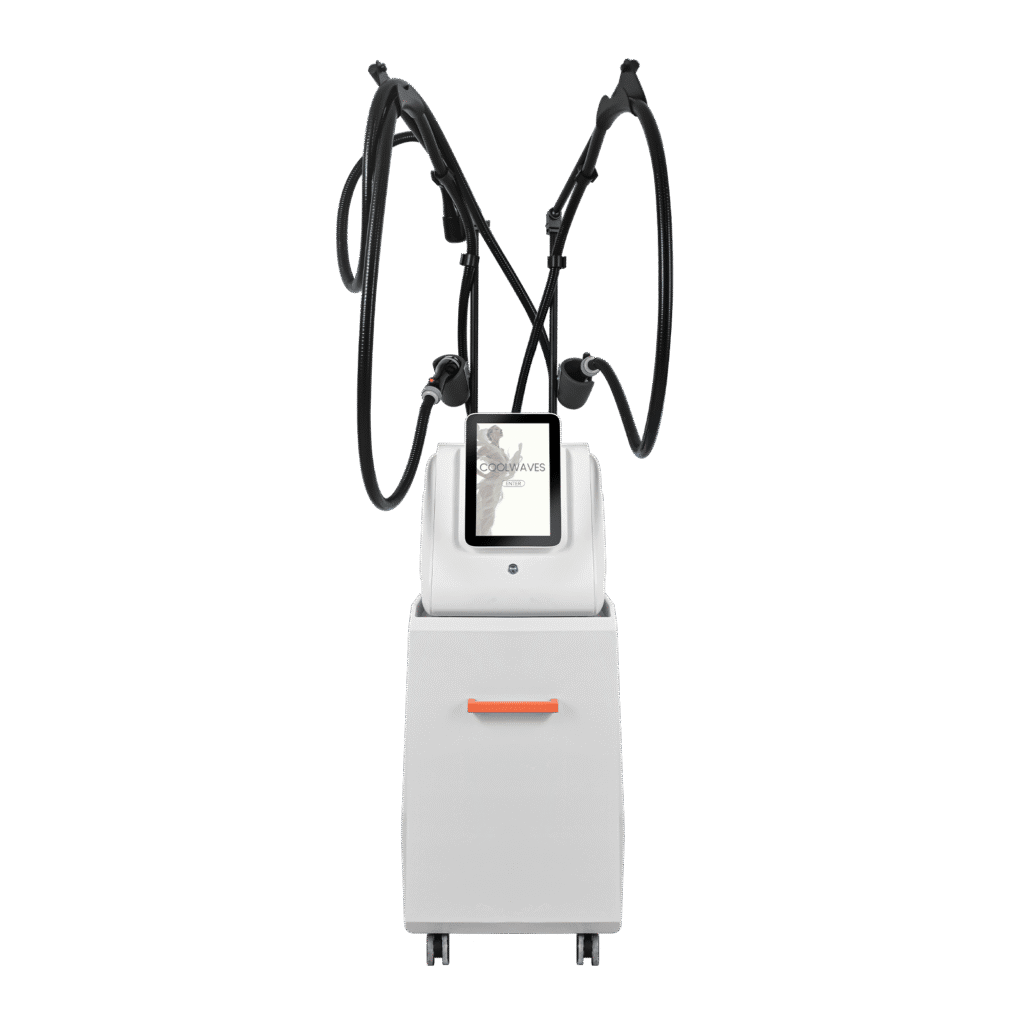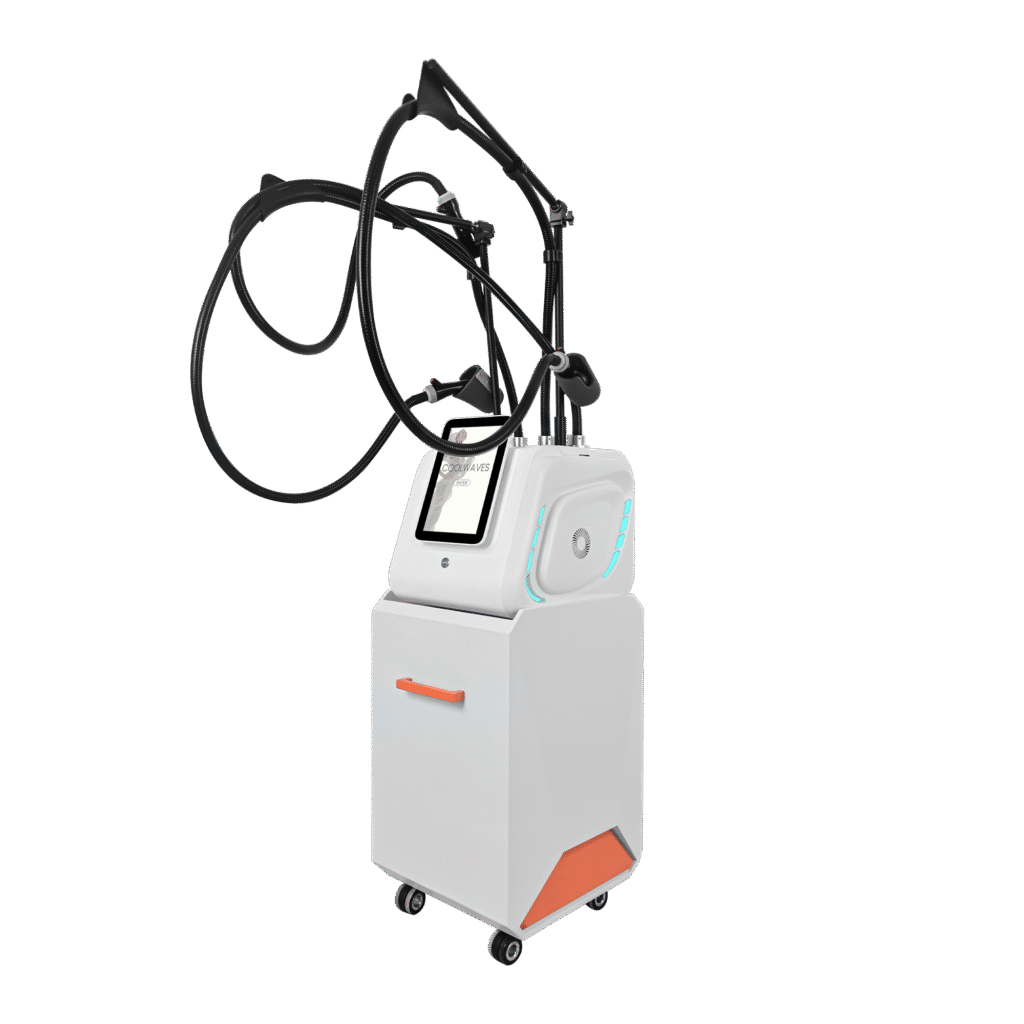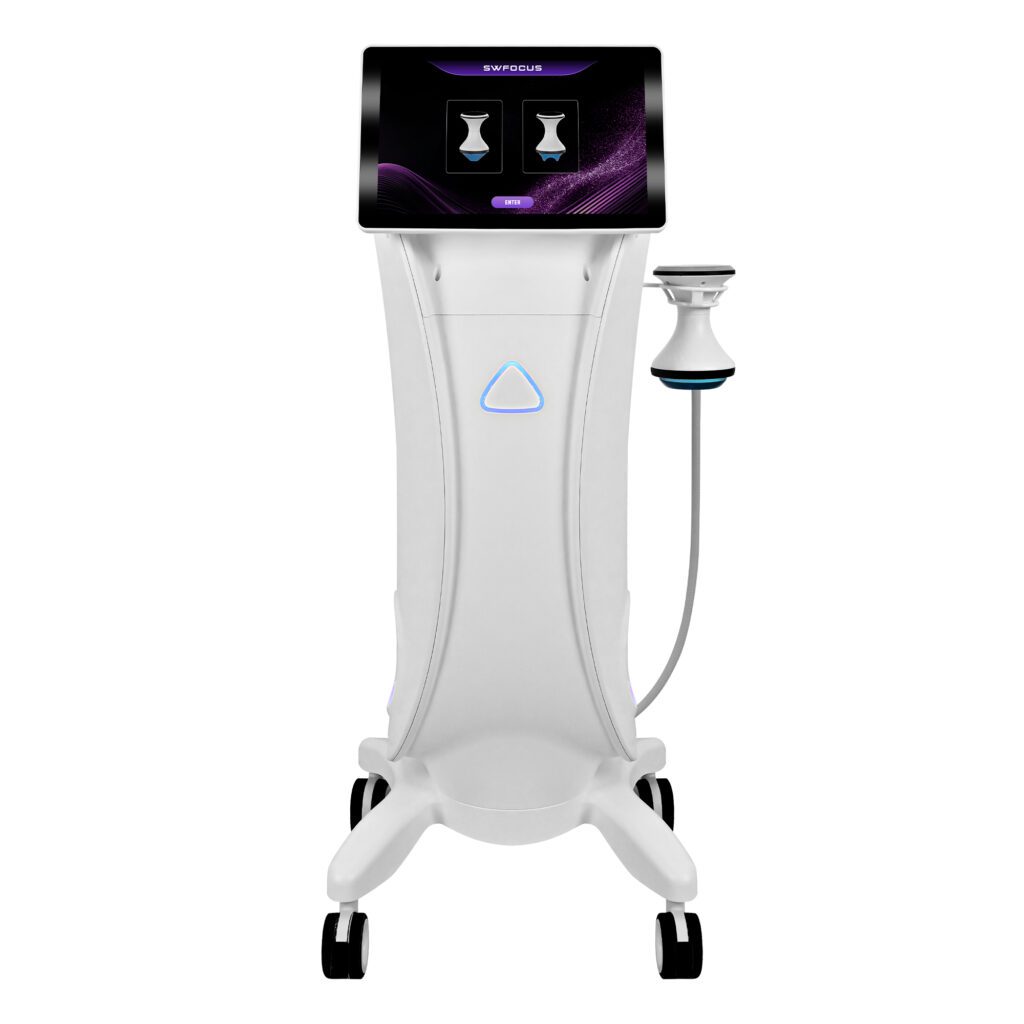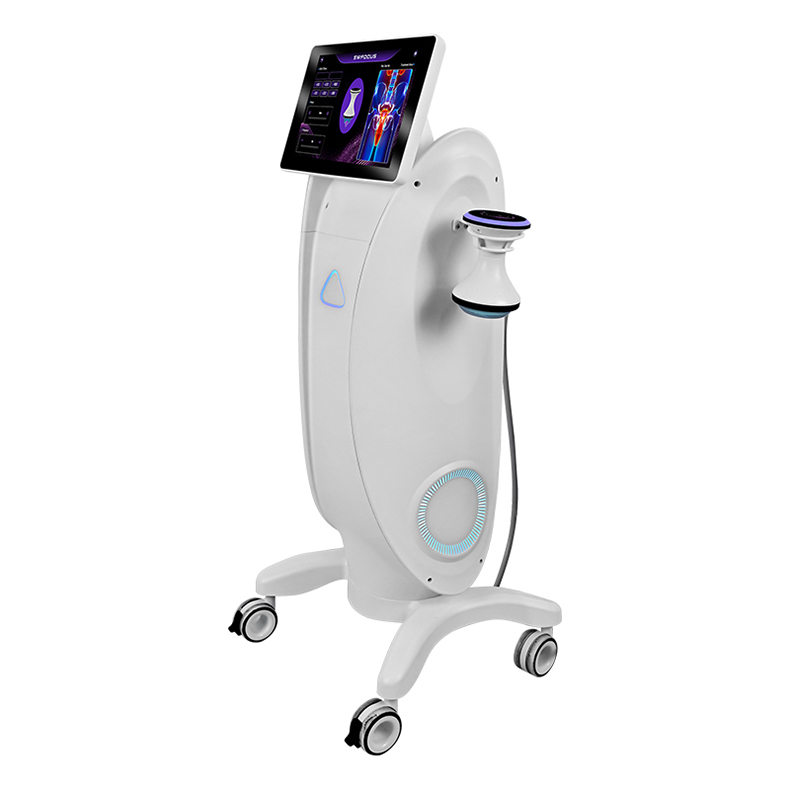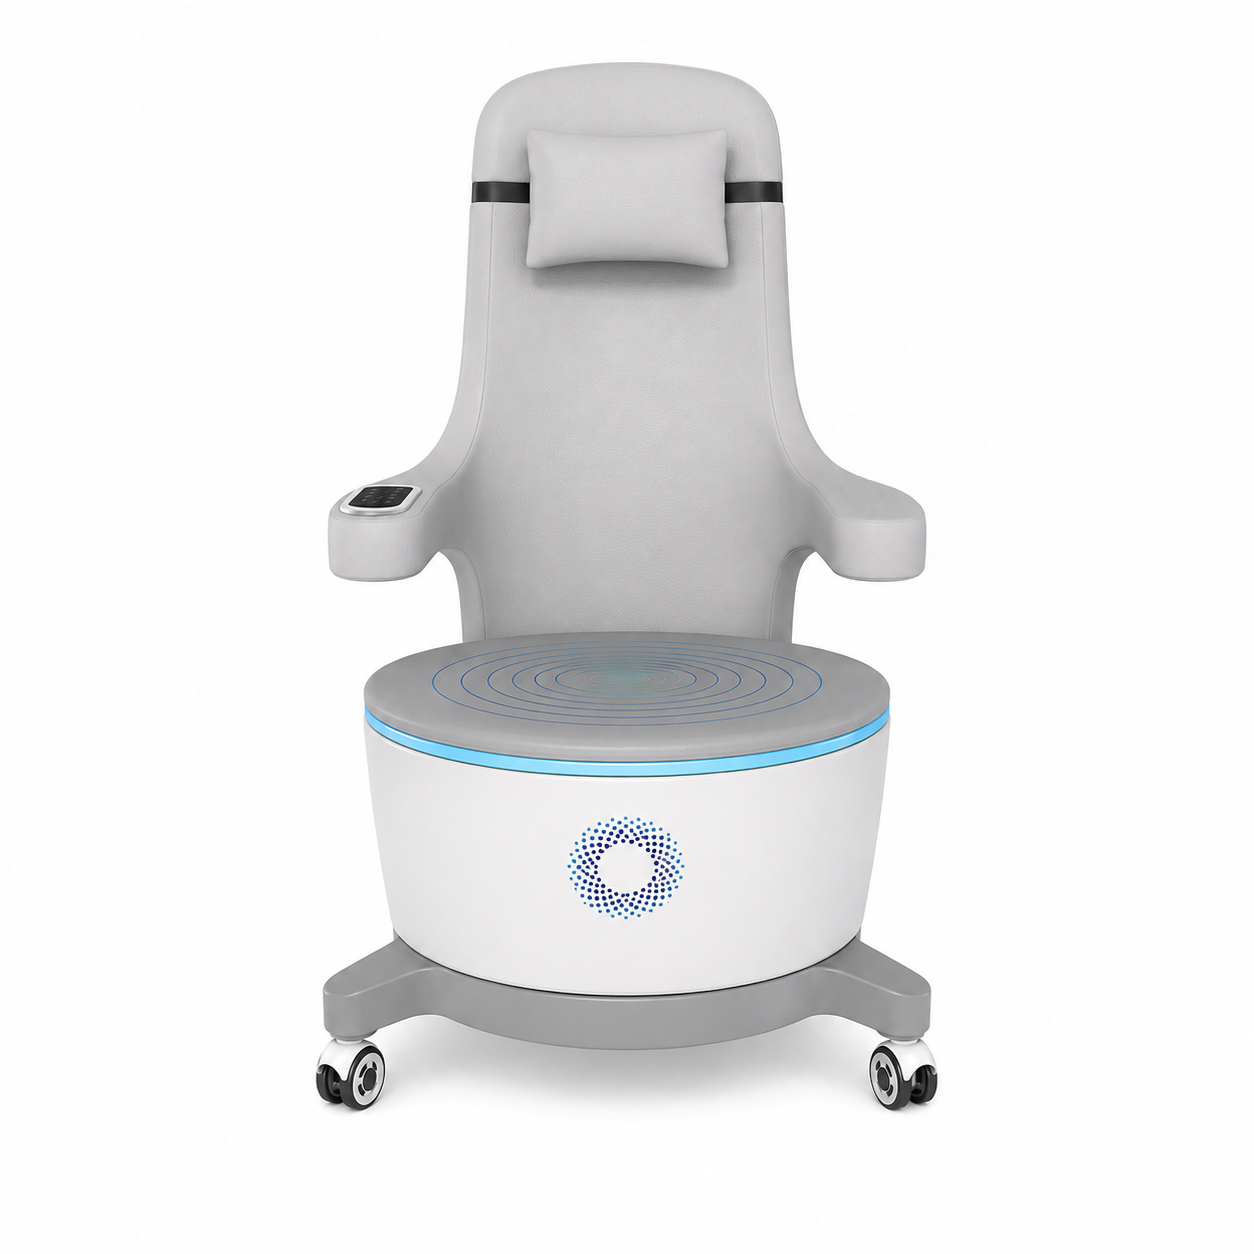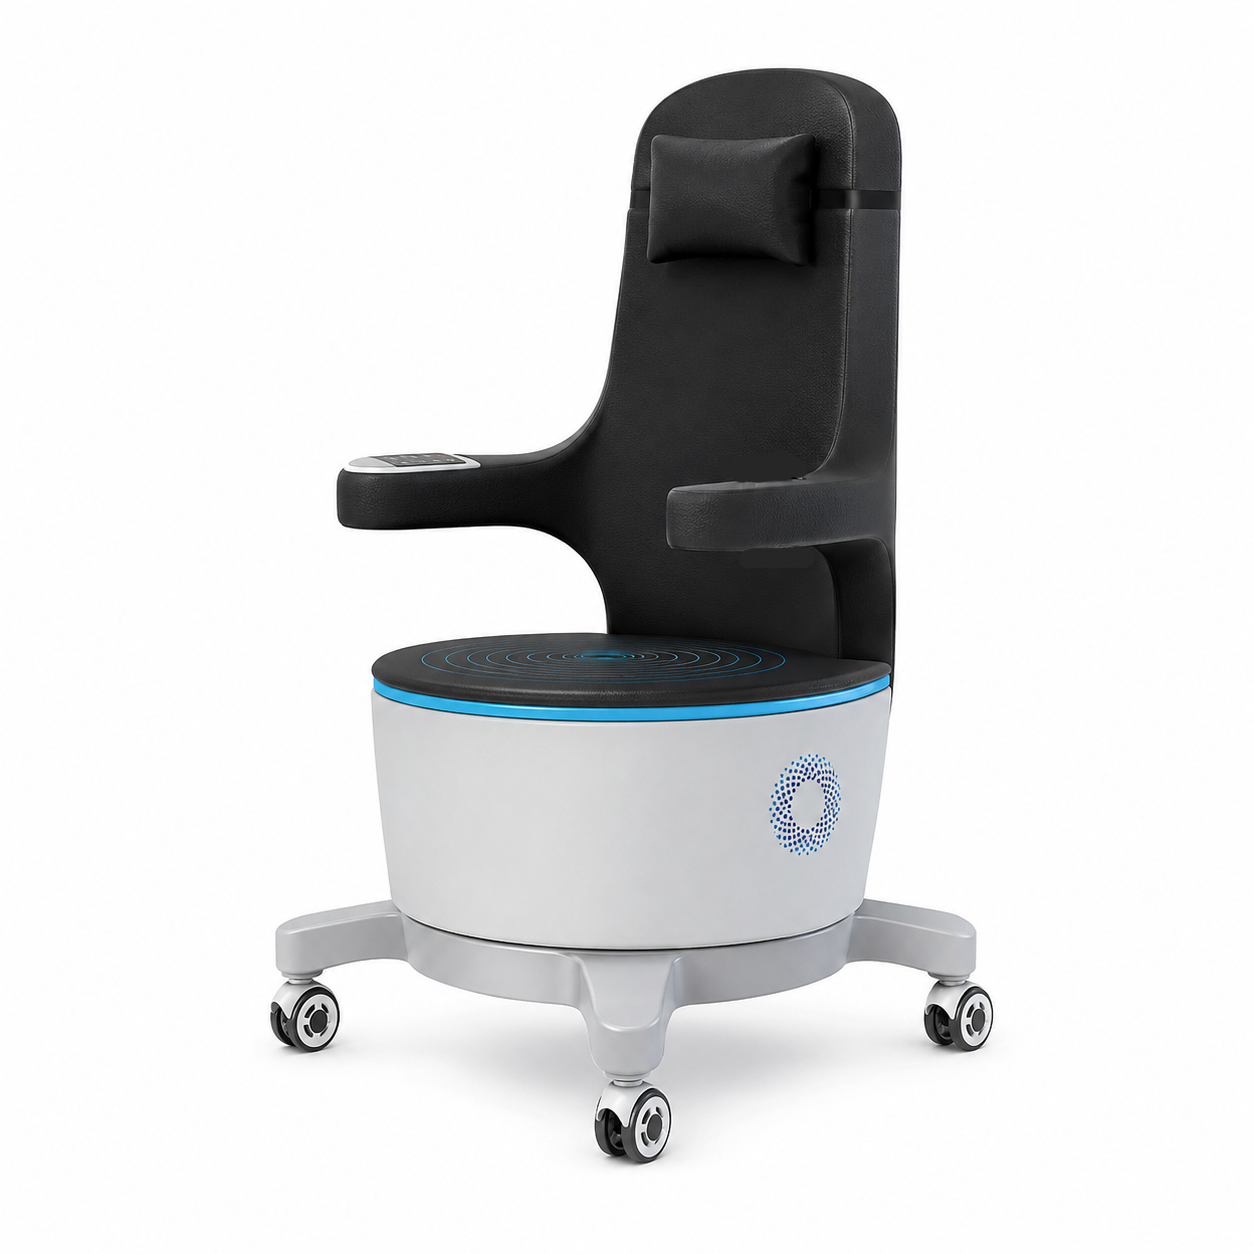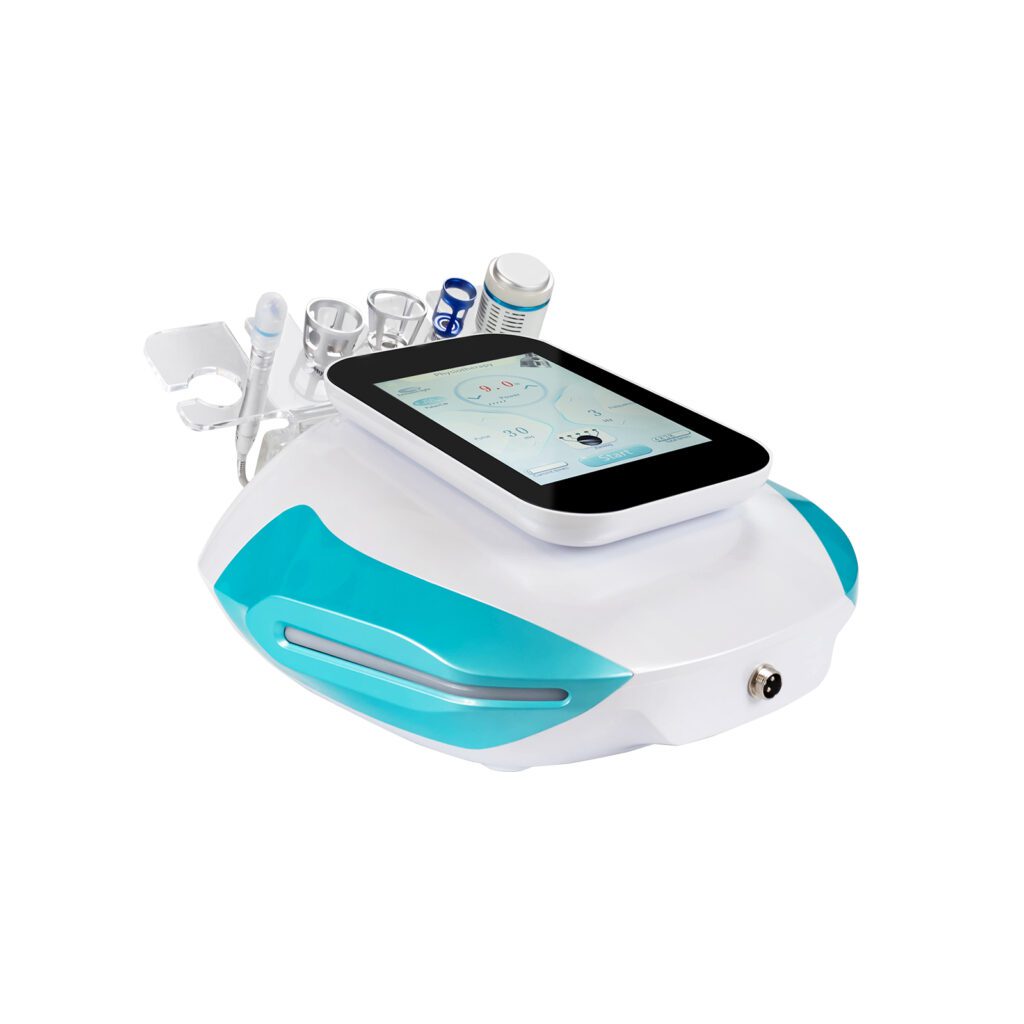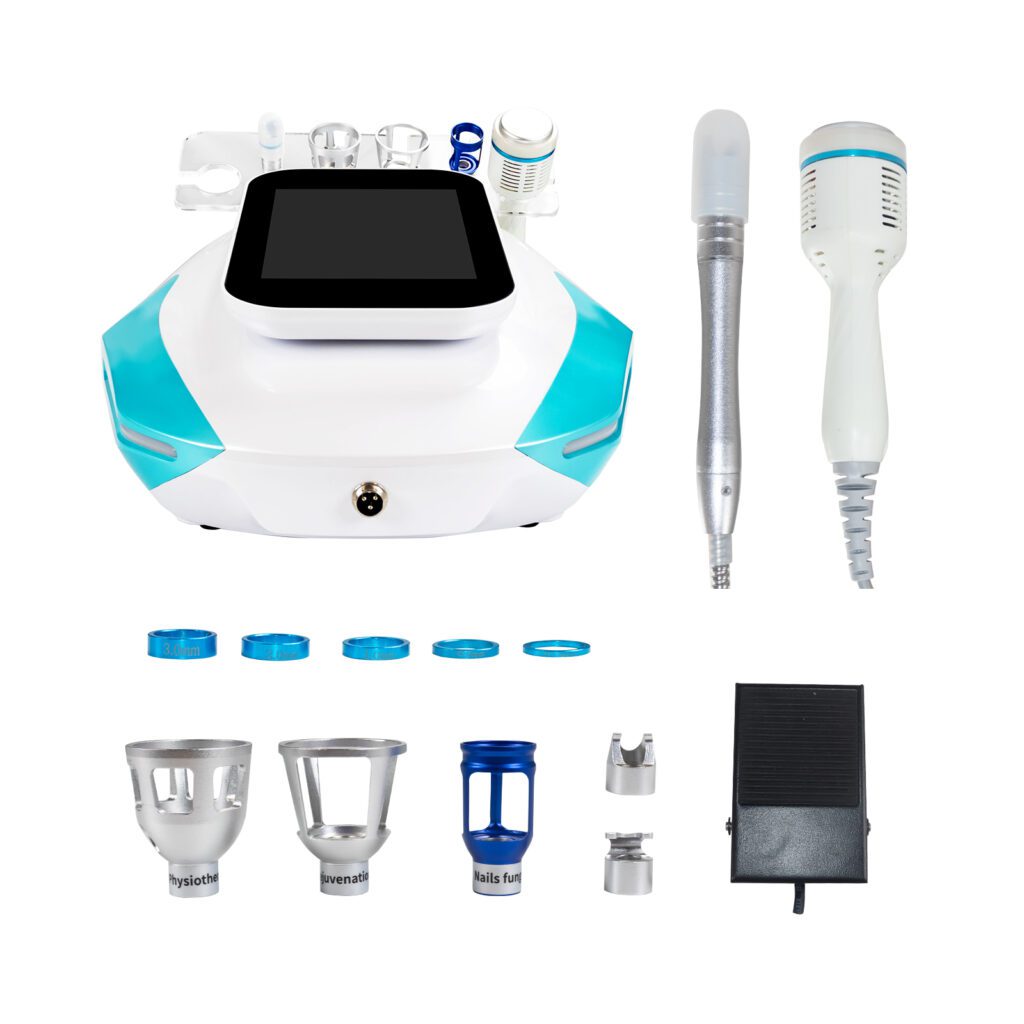
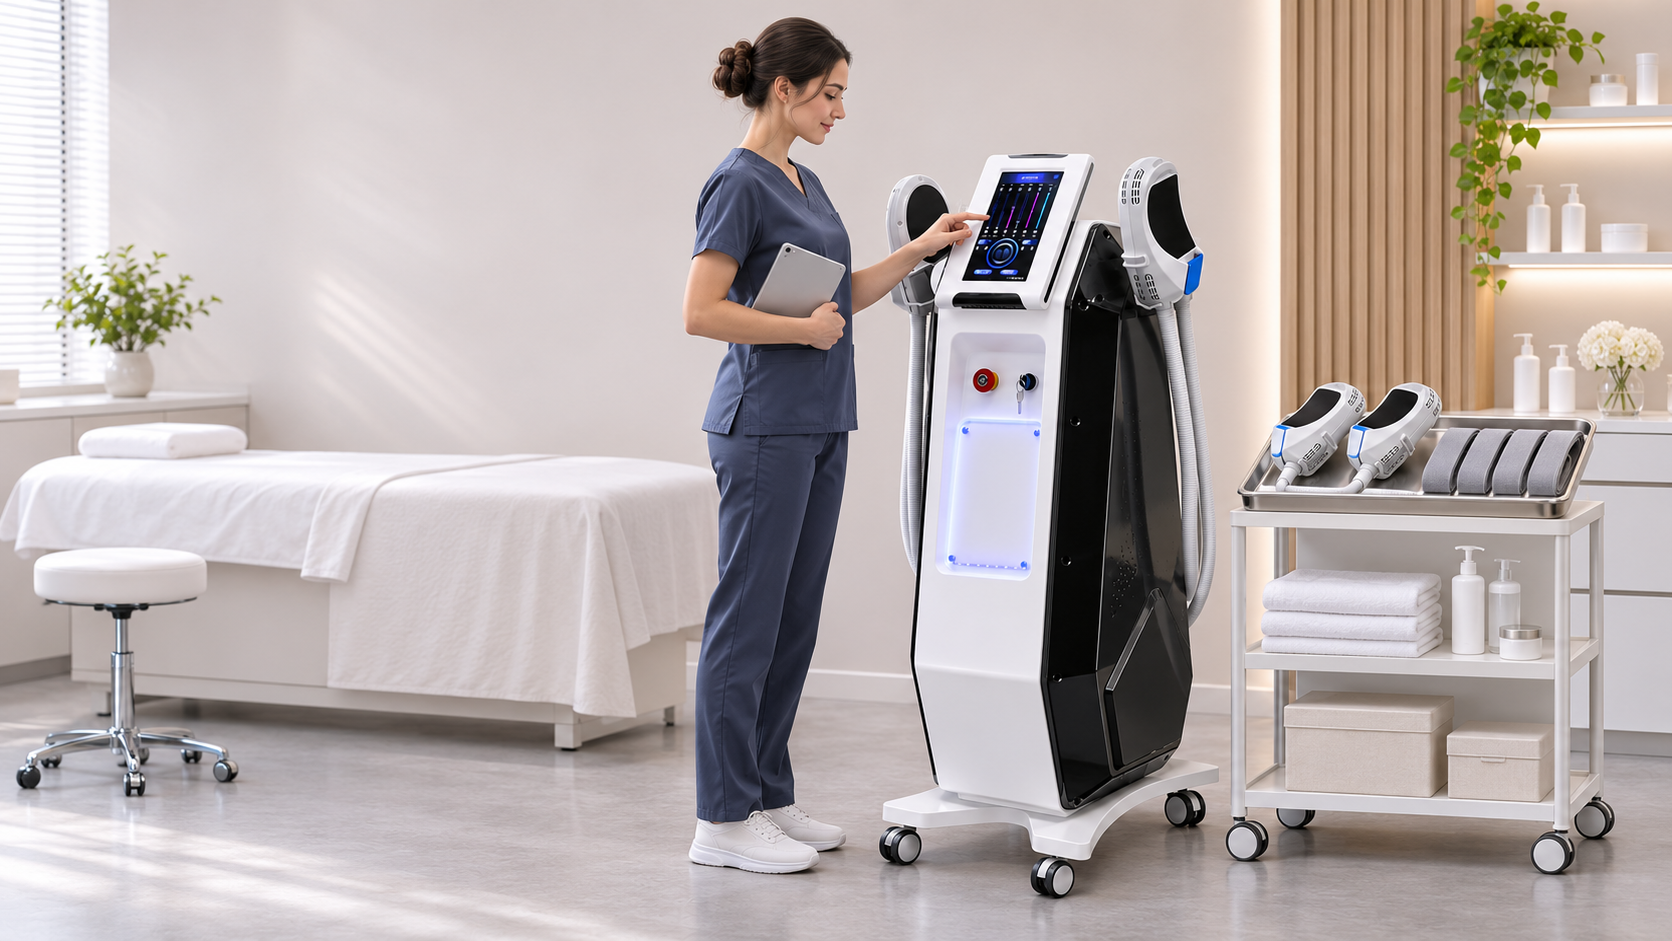
A four-handle EMSlim machine can expand body-area planning, but it also makes the treatment room easier to mismanage. Four applicators, straps, cables, a high-power console, client positioning, metal and implant screening, cleaning, monitoring, and post-session records all need a defined place in the workflow.
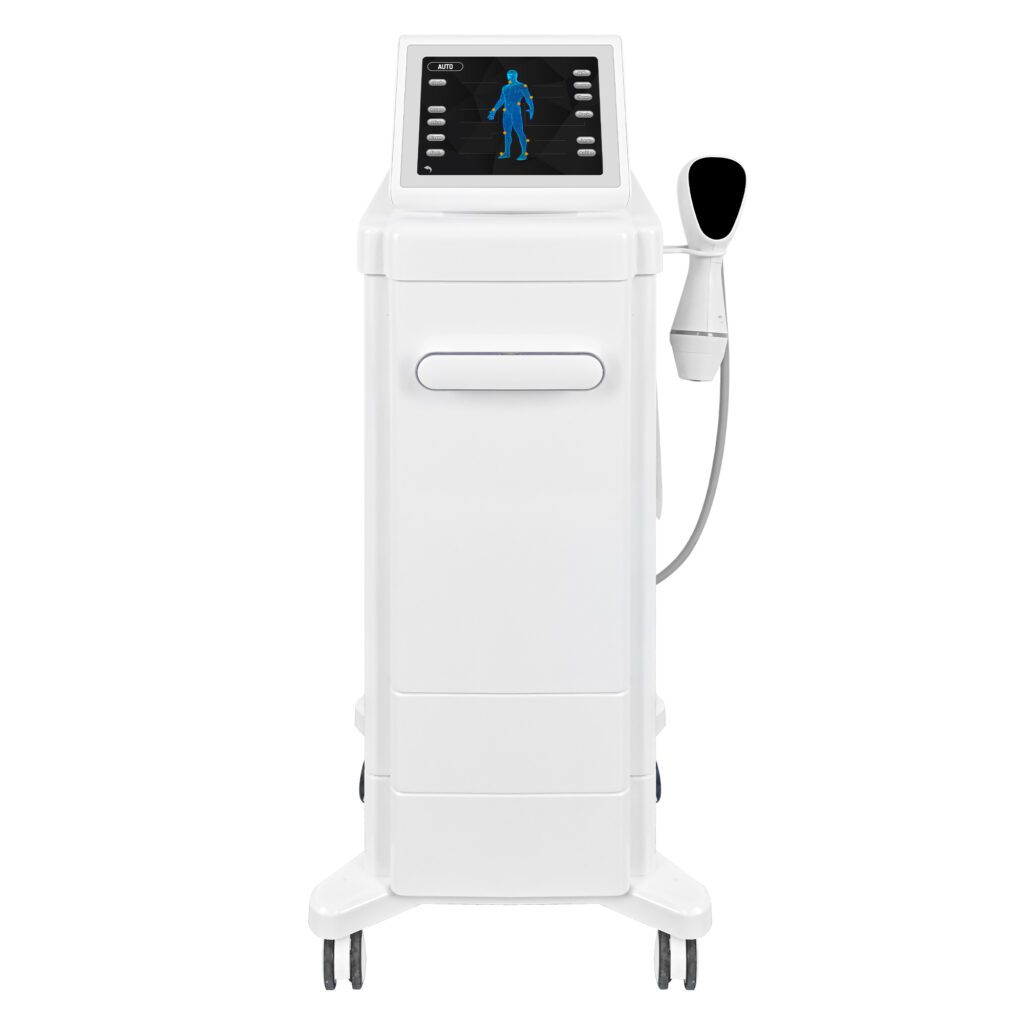
The SHEFMON A0240 EMSlim machine is currently listed with four handles plus an optional pelvic-floor muscle configuration. Its core business role is professional electromagnetic muscle-stimulation and body-sculpting service planning for suitable clients.
This guide explains how a salon or body studio can arrange an A0240 room, identify and store four applicators, prepare one- and multi-applicator appointments, monitor a single client, turn over the room, and document each channel. It is an operational guide, not a replacement for the supplied manual, professional training, electrical planning, local rules, or client-specific medical review.
Управляющее резюме
- Plan A0240 as one professionally monitored client workflow, not four simultaneous clients.
- Give every handle and channel a permanent identifier so placement, settings, cleaning, and faults are traceable.
- Position the console where air cooling remains unobstructed and four cables cannot cross doors, wheels, or operator walkways.
- Use only the number and placement of applicators authorized by the manual and confirmed in the delivered configuration.
- Screen for active implants, metal in or near the target area, pregnancy, recent surgery or injury, heart or neurological concerns, altered sensation, and other exclusions named in the labeling.
- Do not place applicators across the chest, neck, head, or another unapproved area.
- Include setup, placement, monitoring, removal, cleaning, records, and room reset in the appointment time.
- Market A0240 as muscle-stimulation and body-sculpting support, not a substitute for exercise or a guaranteed weight-loss service.
1. Confirm the Current A0240 Configuration
The current SHEFMON product page lists:
| Элемент | Current public A0240 information | Room-planning implication |
|---|---|---|
| Ручки | Four handles plus optional pelvic-floor muscle configuration | Four storage positions, four cable routes, channel identification, and configuration confirmation are required |
| Власть | 5000W listed | Electrical planning must follow the supplied unit, nameplate, manual, and local code |
| ВЧ-мощность | 800W listed | Confirm whether RF is active in the purchased configuration and how it changes screening, placement, and monitoring |
| Интенсивность | 7 Tesla listed | Public specification is not a universal treatment setting |
| Частота | 1–150Hz listed | Program selection must follow training and individual assessment |
| Ширина импульса | 310µs ±10% listed | Technical specification, not a parameter for public service menus |
| Экран | 10,4-дюймовый сенсорный экран | Operator needs direct access and visibility during the session |
| Охлаждение | Воздушное охлаждение | Ventilation openings and environmental requirements must remain clear |
| Напряжение | AC220V ±10% 10A 50Hz or 110V ±10% 10A 60Hz listed | The delivered voltage and plug must match the premises and electrical plan |
This article uses the current four-handle product-page configuration. Buyers should still confirm the quotation, packing list, applicator sizes, channel controls, simultaneous operating guidance, straps, holders, voltage, RF configuration, and optional accessories before finalizing the room.
The wider SHEFMON EMSlim категория helps buyers compare related models. Do not copy A0241, A0272, EMS-chair, or older A0240 instructions into a four-handle A0240 SOP without verification.
2. What Four Handles Change Operationally
Four handles create more placement options, not automatic capacity.
A clinic may use fewer than four applicators for a selected service. When several are used, the operator must still confirm:
- each handle is compatible with the selected channel;
- each placement is approved for the body area and client;
- the delivered software permits the intended simultaneous operation;
- straps hold each applicator without excessive compression or shifting;
- the client can maintain a stable position during strong contractions;
- all four cables remain visible and free from tension;
- the operator can observe and stop each channel when necessary;
- the record distinguishes Handle 1, Handle 2, Handle 3, and Handle 4.
Four handles do not mean four clients, four treatment rooms, or four unrelated services at once. One client should remain the operational unit unless the supplied documentation and local professional rules explicitly establish another workflow.
3. Divide the Treatment Room Into Five Zones
Zone A: consultation and screening
Use a private place for the client goal, implant and metal history, health screening, consent, photographs, and target-area discussion. Complete screening before the client changes or the applicators are prepared.
Zone B: clean applicator and strap storage
Keep four processed, dry, inspected applicators and compatible straps in protected, labeled positions. Clean storage should also hold approved barriers or accessories, forms, and photography tools. Keep it away from used linen, cleaning chemicals, and client belongings.
Zone C: active treatment
This zone includes the console, bed, selected applicators, straps, current record, and trained operator path. Only the applicators needed for the current plan should be placed at the bedside.
Zone D: used-item processing
Create a separate surface or labeled container for applicators and straps awaiting the manual-specified cleaning process. Do not return used equipment directly to clean storage or lay it on the console.
Zone E: fault quarantine
Reserve a clearly marked place for an applicator, strap, cable, connector, or console component removed from service. The item remains isolated until qualified support approves repair, replacement, or return.
4. Position the Console and Protect Air Cooling
A0240 should sit on its approved base or a stable surface intended for the delivered unit. The operator should see the screen and client without leaning over active cables.
The installation plan should provide:
- ventilation clearance specified in the manual;
- access to the main control, stop function, and power-disconnection route;
- a power cable route outside the client and operator walkway;
- enough distance for all four applicator cables without pulling connectors;
- a dry location away from sinks, wet processing, or spilled contact products;
- space to inspect every connector and line before use;
- a stable floor or locked mobile base if the supplied design is movable.
Do not cover ventilation openings with towels, paperwork, spare straps, or client clothing. Air cooling makes unobstructed airflow part of daily room readiness.
The listed power and voltage do not replace an electrical assessment. Use the actual nameplate, installation instructions, and a qualified local electrical professional to determine the suitable circuit, grounding, outlet, and protection. Do not solve an unsuitable room with an unapproved extension lead or adapter.
5. Plan the Bed and Client Position
The treatment bed needs to remain stable while the client experiences involuntary contractions. Positioning should allow normal breathing, communication, visual monitoring, and quick removal of an applicator if needed.
Учитывать:
- the approved target area and client posture;
- whether paired or multiple placements can be reached without moving the console;
- where four cables will pass when the client is supine, prone, or in another authorized position;
- how the operator will reach each strap and connector;
- whether the client can enter and leave the bed without stepping over cables;
- whether the bed surface and positioning aids can be cleaned according to clinic policy.
Do not use a chair, narrow massage table, or unsupported position merely to fit more applicators. Strong contractions should not make the client unstable.
6. Number Handles, Channels, Straps, and Storage Positions
Create a permanent identification system when the unit is installed.
| Asset | Example ID | What the ID should connect to |
|---|---|---|
| Аппликатор | H1, H2, H3, H4 | Channel, storage position, placement map, cleaning status, fault history |
| Канал | C1, C2, C3, C4 or manufacturer designation | Screen control, compatible handle, actual settings, stop event |
| Strap set | S1, S2, S3, S4 | Compatible applicator and size, inspection and cleaning status |
| Storage position | Bay 1–4 | The applicator expected in that location |
| Optional accessory | PF-1 or supplied name | Separate configuration, manual, service pathway, and privacy requirements |
Use the manufacturer’s own channel names when available. Labels must not cover warnings, vents, sensors, treatment surfaces, or serial information.
The daily record should never say only “four handles used.” It should show which handle was on which authorized area and what happened on each channel.
7. Store Applicators, Straps, and Cables Correctly
Exact storage requirements come from the A0240 manual. General room-planning principles include:
- return only cleaned, fully dry, inspected applicators and straps to clean storage;
- give every applicator a stable position that protects its treatment surface and housing;
- support cables without tight coils, sharp bends, crushing, twisting, or floor contact;
- do not hang the full applicator weight from the cable or connector;
- keep applicators away from heaters, moisture, direct sunlight, chemicals, and heavy stacked items;
- store straps flat or supported so fasteners, stitching, and elastic sections can be inspected;
- keep connectors clean, dry, capped or protected when the supplied instructions require it;
- do not spray cleaning product into a connector, ventilation opening, or cable entry point.
If an applicator is dropped or a cable has been trapped by the bed or cart, remove it from use and follow the inspection or technical-support process. Normal appearance alone does not confirm internal integrity.
8. Build the Appointment Types Around Handle Use
The service menu should tell staff how much setup and monitoring is required.
| Тип бронирования | Handle-planning direction | Оперативная записка |
|---|---|---|
| EMSlim Consultation and Placement Assessment | No active treatment assumed | Screening, target-area review, photographs, applicator fit, and written plan |
| Single-Area EMSlim Session | One or an approved paired placement | Best starting workflow for new clients and staff |
| Bilateral or Symmetrical-Area Session | Approved paired applicators | Requires side-specific mapping and monitoring |
| Four-Handle Area Plan | Up to four approved placements on one client | Only when configuration, manual, client position, and monitoring support it |
| Staged Multi-Area Program | Different areas across planned appointments | Commercially one package; not automatically one same-day session |
| Обзор хода работ | No treatment automatically included | Re-screen, photograph, compare, and decide whether to continue |
Avoid public menu names such as “maximum four-handle blast.” Premium value should come from assessment, placement accuracy, documentation, and course planning—not maximum intensity or maximum applicator count.
9. Screen Before Bringing Applicators to the Bed
Pulsed magnetic fields can cause involuntary muscle contractions. The FDA’s Обзор неинвазивных методов коррекции контуров тела identifies active implanted devices and metal under the skin as important magnetic-field concerns, and notes possible muscle soreness and cramping.
The FDA’s electronic muscle stimulator information also warns against unsupported weight-loss claims and reports possible shocks, burns, bruising, skin irritation, pain, and interference with implanted devices for some EMS products. A0240 uses electromagnetic positioning rather than adhesive electrical electrodes, so the purchased A0240 labeling remains the primary device-specific source.
The clinic’s current form should follow the manual and local rules and should address, as applicable:
- pacemakers, implanted defibrillators, insulin pumps, neurostimulators, or other active implants;
- metal implants, screws, plates, mesh, or retained metal near the target area;
- pregnancy or possible pregnancy under the clinic’s exclusion policy;
- suspected or diagnosed heart problems;
- seizure or neurological concerns requiring professional review;
- recent surgery, unhealed injury, acute muscle injury, or a condition that strong contractions could worsen;
- abnormal swelling, unexplained pain, weakness, numbness, or loss of normal sensation;
- inflamed, infected, damaged, or irritated skin under the applicator;
- a new health, medication, or procedure change since the previous session.
This is not a complete contraindication list. When history is uncertain or outside the operator’s scope, postpone and obtain appropriate medical review.
10. Control Metallic and Electronic Items
The manual should specify which personal items and equipment need to be removed or kept away. Build that check into the room workflow rather than asking after the applicators are strapped on.
Before placement, confirm the client and operator have followed instructions for:
- phones, smart watches, magnetic cards, keys, jewelry, belts, clothing hardware, and other items near the target area;
- wearable or implanted electronic devices;
- metal in or near the treatment area;
- electronic equipment that should not sit in the applicator or cable zone.
Provide a dedicated belongings cabinet or container outside the active treatment path. Do not put a phone or key tray on the A0240 console.
Do not import MRI-room rules or invent a universal exclusion distance. Follow the electromagnetic compatibility and object-clearance instructions supplied with A0240.
11. Opening Checklist Before the First Client
Assign the check to a named trained operator and record completion.
Готовность помещения
- Floor, bed, console area, storage, and processing surfaces are clean, dry, and unobstructed.
- Client belongings have a dedicated location away from the console and applicators.
- Consultation privacy, photography, hand hygiene, linen, waste, and emergency processes are ready.
- No unrelated electrical or magnetic equipment has been placed in the active zone.
Console readiness
- Console position is stable and ventilation is clear.
- Power lead, plug, housing, screen, and accessible controls show no damage.
- Startup and self-check behavior follow the manual with no unexplained alarm.
- Cooling airflow and approved operator checks are normal.
Four-handle readiness
- H1–H4 are present in the correct storage positions.
- Housings, treatment surfaces, cables, strain relief, and connectors show no damage.
- Strap sets are clean, dry, secure, and not stretched or torn.
- Connectors seat normally without force.
- No handle, strap, or channel has an unresolved quarantine tag.
- The booked service can be supported by the available clean applicators.
Opening proves only that the room and equipment are ready. Client suitability must still be confirmed.
12. Pre-Appointment Setup
Review the booking and latest client record before preparing the bed.
- Confirm the planned target area and provisional number of handles.
- Select the required screening and consent materials.
- Position the bed for stable contractions and operator access.
- Prepare photography and measurement tools if included.
- Bring only the expected applicators and straps into the active zone.
- Route each cable from console to bed without crossing another cable unnecessarily.
- Keep connector strain low and the floor path clear.
- Confirm the screen’s channel map matches the physical labels.
Do not connect or strap all four handles simply because the appointment is labeled “four-handle.” The provider must confirm the actual placement after screening and body-area assessment.
13. Client Consultation and Placement Map
Clarify the service goal
Ask whether the priority is abdomen, glute, thigh, arm, or another authorized muscle-stimulation area. Explain that EMSlim complements an active lifestyle and does not replace exercise, nutrition, or medical care.
Re-screen at every visit
Confirm there has been no implant, metal, surgery, injury, pregnancy, medication, sensation, pain, or health change since the prior appointment.
Inspect the target area
Check skin condition, sensation, relevant scars or implants, muscle area, applicator fit, and the client position. When the area does not fit the manual or operator scope, change the plan or do not proceed.
Map every applicator
Use a diagram or standardized record. For four handles, record H1 through H4 separately. Do not describe two sides as one undivided placement.
Explain expected sensations and stop signals
Describe strong involuntary contractions, pressure from straps, and possible temporary soreness or cramping. The client should know how to communicate sharp pain, dizziness, breathing difficulty, unusual sensation, or another unexpected response.
14. One- and Two-Handle Starter Workflow
New clients and new staff benefit from a simpler initial workflow.
Место
Use only the approved applicator and strap arrangement from training. Confirm that the handle sits securely and does not cross an unapproved area. The client should be stable and able to communicate.
Start
Select the authorized program and begin according to the trained protocol. Do not copy the previous client’s intensity or assume that the listed Tesla specification is a treatment target.
Observe
Watch the contraction pattern, applicator position, strap stability, breathing, face, and client feedback. Stop or adjust under the clinic protocol if the response is unexpected.
Записывать
Document handle ID, channel, placement, program, actual settings, response, adjustments, and aftercare.
This starter workflow establishes placement and monitoring discipline before the studio uses all four handles.
15. Four-Handle Workflow for One Client
Four-handle use should be a deliberate escalation in workflow, not the default for every booking.
Step 1: confirm that four handles are appropriate
Verify the delivered system supports the intended simultaneous operation, the placement pattern is authorized, the client can maintain a stable position, and one operator can monitor every channel.
Step 2: connect in a fixed order
Use the manufacturer channel order. Confirm H1 to C1, H2 to C2, H3 to C3, and H4 to C4—or the exact supplied designation—before strapping.
Step 3: place and secure one applicator at a time
After each placement, check orientation, strap security, cable slack, client comfort, and the record map. Do not leave an applicator on the client without knowing which screen channel controls it.
Step 4: verify the complete physical map
Read the map aloud or use a two-person cross-check when clinic policy requires it. Confirm that cables do not cross the client’s neck, chest, face, or doorway and are not under the bed.
Step 5: start according to the trained sequence
Follow the manual for whether channels begin together or separately. Do not assume independent channel control or identical settings without confirmation.
Step 6: monitor all four placements
The operator should keep the client, screen, cables, straps, and contraction patterns in view. A device timer is not a substitute for monitoring.
Step 7: manage a single-channel stop
If one placement shifts or causes an unexpected response, follow the manual for stopping or adjusting that channel. Record what happened on that handle rather than documenting only that “the session stopped.”
Step 8: remove and inspect systematically
Stop according to the device sequence, remove one applicator at a time, inspect the area, check the client, and move each used handle to the processing zone.
16. Four-Handle Placement Patterns and Scheduling
The clinic can plan commercial booking categories without publishing unverified placement protocols.
| Planning pattern | Использование в деловых целях | Required confirmation |
|---|---|---|
| One approved area with fewer handles | Starter or focused service | Applicator fit, body-area authorization, channel and strap plan |
| Paired symmetrical placement | Bilateral area planning | Side-specific map, stable position, simultaneous-use guidance |
| Four placements within one approved program | Four-handle premium booking | Manual-supported pattern, channel control, full monitoring, room capacity |
| Two different body priorities | Staged multi-area package | Whether same-appointment use is authorized or separate visits are safer |
Do not describe a four-handle session as “double results” or assume four handles cut the course in half. Handle count affects placement capacity and room workflow, not a guaranteed outcome.
Commercial packages can include several body areas while scheduling them on different dates. A package is not a treatment protocol.
17. During-Session Monitoring
Monitor:
- applicator position and strap tension;
- visible contraction pattern for every placement;
- client comfort, communication, breathing, and general condition;
- cables and connectors for movement or tension;
- screen status, countdown, alarms, and channel behavior;
- cooling and any unusual heat, noise, smell, or interruption;
- sharp pain, unexpected cramping, dizziness, numbness, or another response outside the protocol.
Do not leave the client alone merely because the machine runs automatically. If the operator must leave, follow the clinic’s approved stop and supervision policy.
The client should have a clear method to request an immediate stop, but the operator remains responsible for active observation and response.
18. After-Session Workflow
After the active program:
- Stop and remove applicators in the trained sequence.
- Inspect each placement area and ask about immediate symptoms.
- Help the client sit or stand safely after strong contractions.
- Provide written aftercare and escalation instructions.
- Record soreness, cramping, skin response, dizziness, discomfort, or another relevant observation.
- Confirm whether the next booking is a treatment, review, pause, or referral.
- Move H1–H4 and straps directly to used-item processing.
Do not promise that absence of immediate discomfort guarantees no later response. Give the client a contact route and explain when medical evaluation may be needed.
19. Cleaning and Between-Client Turnover
The public A0240 page does not specify one universal disinfectant, contact time, cable-cleaning method, or drying time. Build the SOP from the supplied manual, product labels, training, and local infection-control requirements.
Turnover should include:
- disposing of single-use barriers or accessories as instructed;
- cleaning and disinfecting contact surfaces with compatible products;
- processing straps according to their material and supplied instructions;
- protecting connectors and ventilation openings from liquid;
- inspecting applicator surfaces, housings, cables, strain relief, and connectors;
- allowing the required contact and complete drying time;
- returning only clean, dry, inspected items to their labeled storage positions;
- cleaning the bed, trolley, photography aids, touchpoints, and approved console surfaces;
- replacing linen and resetting the client-belongings area;
- documenting a fault, spill, unusual response, or incomplete processing status.
Four handles mean more surfaces and more cable length to inspect. The appointment buffer should reflect the actual turnover work.
20. End-of-Day Closing Workflow
- Complete all client, cleaning, and incident records.
- Process and dry every applicator and strap used that day.
- Inspect H1–H4, their cables, connectors, and storage bays.
- Move any questionable item to fault quarantine with date and issue.
- Check the console, ventilation openings, power lead, screen, and approved surfaces.
- Count clean straps, barriers, linens, and other supplies against the next schedule.
- Remove used linen and waste without crossing clean storage.
- Shut down and secure the unit according to the manual.
- Support cables without tight coils or connector strain.
- Leave the room dry, clear, and ready for the next opening check.
Do not store a damp applicator, close a damaged strap in the clean cabinet, or leave an unexplained channel fault for the next operator.
21. Weekly and Preventive Maintenance Workflow
Create the maintenance calendar from SHEFMON’s instructions for the delivered unit.
Scheduled tasks may include:
- inspecting the full cable length and strain relief for every handle;
- checking housings, treatment faces, connectors, and strap fasteners;
- cleaning storage bays and ventilation areas using approved methods;
- reviewing cooling, alarm, channel, and fault logs;
- reconciling applicator and strap inventory;
- auditing records for handle, channel, placement, program, and response;
- confirming all staff can locate the manual and emergency process;
- reviewing whether four-handle appointment buffers remain realistic;
- checking spare-part availability and technical-support contacts;
- completing manufacturer-required service or calibration through qualified personnel.
Do not open the console, modify a cable, bypass an alarm, or swap applicators between models unless the documentation and technical support confirm the action.
22. Fault and Incident Escalation
Stop or do not begin when there is:
- damage to the console, plug, power lead, applicator, cable, connector, housing, or strap;
- an unexplained alarm or failed startup check;
- abnormal cooling, noise, smell, heat, vibration, contraction pattern, or channel response;
- a handle that does not identify or connect normally;
- a cable trapped, crushed, sharply bent, or pulled;
- uncertain cleaning or drying status;
- unexpected client pain, cramping, dizziness, breathing difficulty, numbness, weakness, or skin response;
- an unresolved prior incident.
Document the unit ID, handle, channel, time, client service, observed issue, action taken, and person notified. Isolate the affected equipment until technical support or another qualified person clears it.
When an adverse client response may require medical care, follow the clinic’s emergency and referral process. Equipment troubleshooting comes after client safety.
23. Appointment Capacity and Staffing
Four handles do not automatically increase daily client count. They may increase preparation, strap placement, monitoring, removal, and cleaning time.
The appointment template should include:
- consultation and rescreening;
- changing and belongings check;
- photography or measurement when included;
- applicator selection and channel verification;
- placement and strap setup;
- active monitored program time;
- removal and immediate review;
- aftercare and record completion;
- cleaning, drying, inspection, and room reset.
Schedule a four-handle booking as its own service type. Do not place it into the same slot as a one-handle trial unless actual timed workflow proves the buffer is adequate.
The SHEFMON EMS beauty-device guide can help clinics compare A0240 with RF EMS, flexible starter, Cryo EMS, face EMS, and specialty EMS-chair directions. It should inform device selection rather than replace the A0240 operating manual.
24. Treatment Records and Progress Review
A reusable A0240 record should include:
- screening result and consent;
- client goal and approved target area;
- body position and placement map;
- H1–H4 and C1–C4 assignments;
- strap set and placement notes;
- program and actual settings selected by the trained operator;
- start, adjustment, stop, or interruption by channel;
- contraction, comfort, soreness, and cramping observations;
- immediate skin or general response;
- aftercare supplied;
- cleaning status and fault notes;
- review date and next decision.
Progress photographs should use the same posture, lighting, camera distance, clothing, and muscle state. Do not compare a relaxed baseline with a later flexed pose.
25. Responsible Marketing Language
Recommended wording includes:
- “four-handle electromagnetic muscle-stimulation platform”;
- “area-specific abdomen, glute, arm, and thigh body-sculpting programs”;
- “professionally monitored one-client workflow”;
- “supports muscle activation and firmer-looking body contour goals”;
- “designed to complement an active lifestyle”;
- “results, course length, and maintenance needs vary.”
Избегать:
- guaranteed fat loss or muscle gain percentages;
- a fixed number of crunches or squats as a literal client result;
- exercise, nutrition, or medical-care replacement claims;
- “four handles mean four times the result”;
- no pain, soreness, side effects, or risk for everyone;
- use with implants or metal without screening;
- unsupervised operation;
- pelvic-floor services when the optional configuration, privacy, training, and local scope are not confirmed.
26. Buyer Checklist Before Finalizing the Room
Ask SHEFMON to confirm:
- four-handle packing list and applicator sizes;
- intended body areas and approved placement guidance;
- channel naming, independent control, and simultaneous operating rules;
- whether RF is included and active in the actual configuration;
- exact console dimensions, weight, and ventilation clearance;
- delivered voltage, plug, power, grounding, and installation requirements;
- cable lengths, holders, straps, and replacement accessories;
- operator manual, contraindications, and training materials;
- cleaning, drying, storage, and preventive-maintenance instructions;
- cooling checks, alarms, shutdown, and fault procedures;
- warranty terms for the console and each applicator;
- spare parts, repair lead times, and technical-support route;
- destination-market documents and labeling;
- optional pelvic-floor configuration and its separate requirements.
The public product page confirms the four-handle direction. The final treatment-room plan should rely on the current quotation, nameplate, delivered unit, specification sheet, manual, and local requirements.
Часто задаваемые вопросы
1. Does the current A0240 product page list four handles?
Yes. The current SHEFMON product page lists four handles plus an optional pelvic-floor muscle configuration. Buyers should still confirm the packing list and simultaneous operating guidance for the quoted unit.
2. Can four A0240 handles be used on four clients at once?
No responsible workflow should assume that. The four handles belong to one console and are planned for one monitored client unless the supplied documentation and local rules explicitly establish another use.
3. Does every A0240 session need four handles?
No. Use the number and placement appropriate to the client, area, manual, and trained protocol. One- or two-handle appointments may be the correct choice.
4. How should the four handles be labeled?
Use the manufacturer’s designation when available, or a consistent H1–H4 system connected to channel, storage bay, placement map, cleaning status, and fault history. Do not cover required markings or treatment surfaces.
5. Where should applicator cables be routed?
Route them from console to client without crossing doors, wheels, the client’s entry path, or unapproved body areas. Avoid sharp bends, tension, crushing, and connector strain.
6. Who should not receive A0240 muscle stimulation?
Active implanted electronic devices and metal near the target area are important exclusions or reasons for professional review. Pregnancy, recent surgery or injury, heart or neurological concerns, altered sensation, damaged skin, and unexplained symptoms also require the clinic to follow the manual and clearance policy.
7. Can A0240 replace exercise?
No. Electromagnetic muscle stimulation can support targeted body-sculpting services but does not reproduce the cardiovascular, metabolic, bone, mobility, balance, or mental-health benefits of exercise.
8. How much turnover time is needed after a four-handle session?
There is no universal buffer. Allow the complete approved cleaning, contact, drying, cable inspection, strap processing, record, and room-reset workflow for all applicators used.
9. What should happen if one channel alarms during a session?
Follow the supplied stop procedure, protect the client, document the specific handle and channel, remove affected equipment from service when required, and contact technical support. Do not ignore the alarm because other channels still operate.
10. What should buyers confirm before purchasing A0240?
Confirm handle count, applicator sizes, simultaneous operation, channel controls, RF configuration, electrical and room requirements, cooling, straps, training, cleaning, maintenance, warranty, spare parts, and destination-market documents.
Заключение
A0240’s four-handle configuration can support flexible EMSlim service planning, but its value depends on control. A professional room gives each handle, channel, strap, cable route, placement, cleaning status, and fault a traceable identity.
The strongest daily workflow begins with screening and a placement map, uses only the required applicators, keeps one client under active observation, and reserves enough time for removal, aftercare, processing, and documentation. Four handles should improve structured body-area planning—not create four times the operational risk.
Review the current SHEFMON A0240 EMSlim product page или свяжитесь с Шефмоном to confirm the delivered handle configuration, electrical requirements, room setup, training, cleaning, maintenance, and technical support.