Intense Pulsed Light (IPL) technology has become one of the most popular non-invasive skincare solutions for improving uneven tone, pigmentation, and early signs of aging. For beginners, the key to success is not just owning a device, but following a structured, safe, and consistent routine. This guide provides a clear, step-by-step IPL Skin Rejuvenation Home Device routine designed specifically for first-time users who want professional-level results at home.
1. Understanding How an IPL Skin Rejuvenation Home Device Works
Before starting your first session, it’s important to understand the technology behind IPL. Unlike single-wavelength lasers, IPL uses broad-spectrum light to target pigment (melanin) and blood vessels (hemoglobin) in the skin. The light energy converts into heat, which breaks down excess pigmentation and stimulates collagen production in the deeper dermis.
An IPL Skin Rejuvenation Home Device can help improve:
Sun spots
Age spots
Freckles
Redness
Uneven skin tone
Dull texture
Over time, collagen stimulation leads to firmer, smoother, and brighter-looking skin. Results are gradual and improve with consistent treatments.
2. Step 1: Determine If You Are a Suitable Candidate
2.1 Check Your Skin Type
IPL works best on light to medium skin tones with darker pigmentation concerns. Very dark skin tones may absorb too much light energy, increasing the risk of side effects.
Avoid IPL treatments if you:
Are pregnant
Have active infections or open wounds
Have recently tanned skin
Are taking photosensitizing medications
If you are unsure, consult a skincare professional before beginning.
2.2 Perform a Patch Test
A patch test is essential for beginners. Apply the lowest energy setting to a small, hidden area (such as behind the ear or along the jawline). Wait 24 hours to observe any reaction. Mild redness is normal, but swelling, blistering, or prolonged irritation means you should not proceed.
3. Step 2: Proper Skin Preparation
Preparation significantly affects both safety and effectiveness.
3.1 Cleanse Thoroughly
Wash your face with a gentle cleanser to remove makeup, sunscreen, oils, and dirt. The skin must be clean and completely dry before treatment.
3.2 Stop Using Active Ingredients
Discontinue retinoids, AHAs, BHAs, and exfoliating treatments at least 3–5 days before your session. These ingredients increase sensitivity and may raise the risk of irritation.
3.3 Avoid Sun Exposure
Avoid direct sun exposure for at least one week prior to treatment. Tanned skin increases the chance of unwanted pigmentation changes.
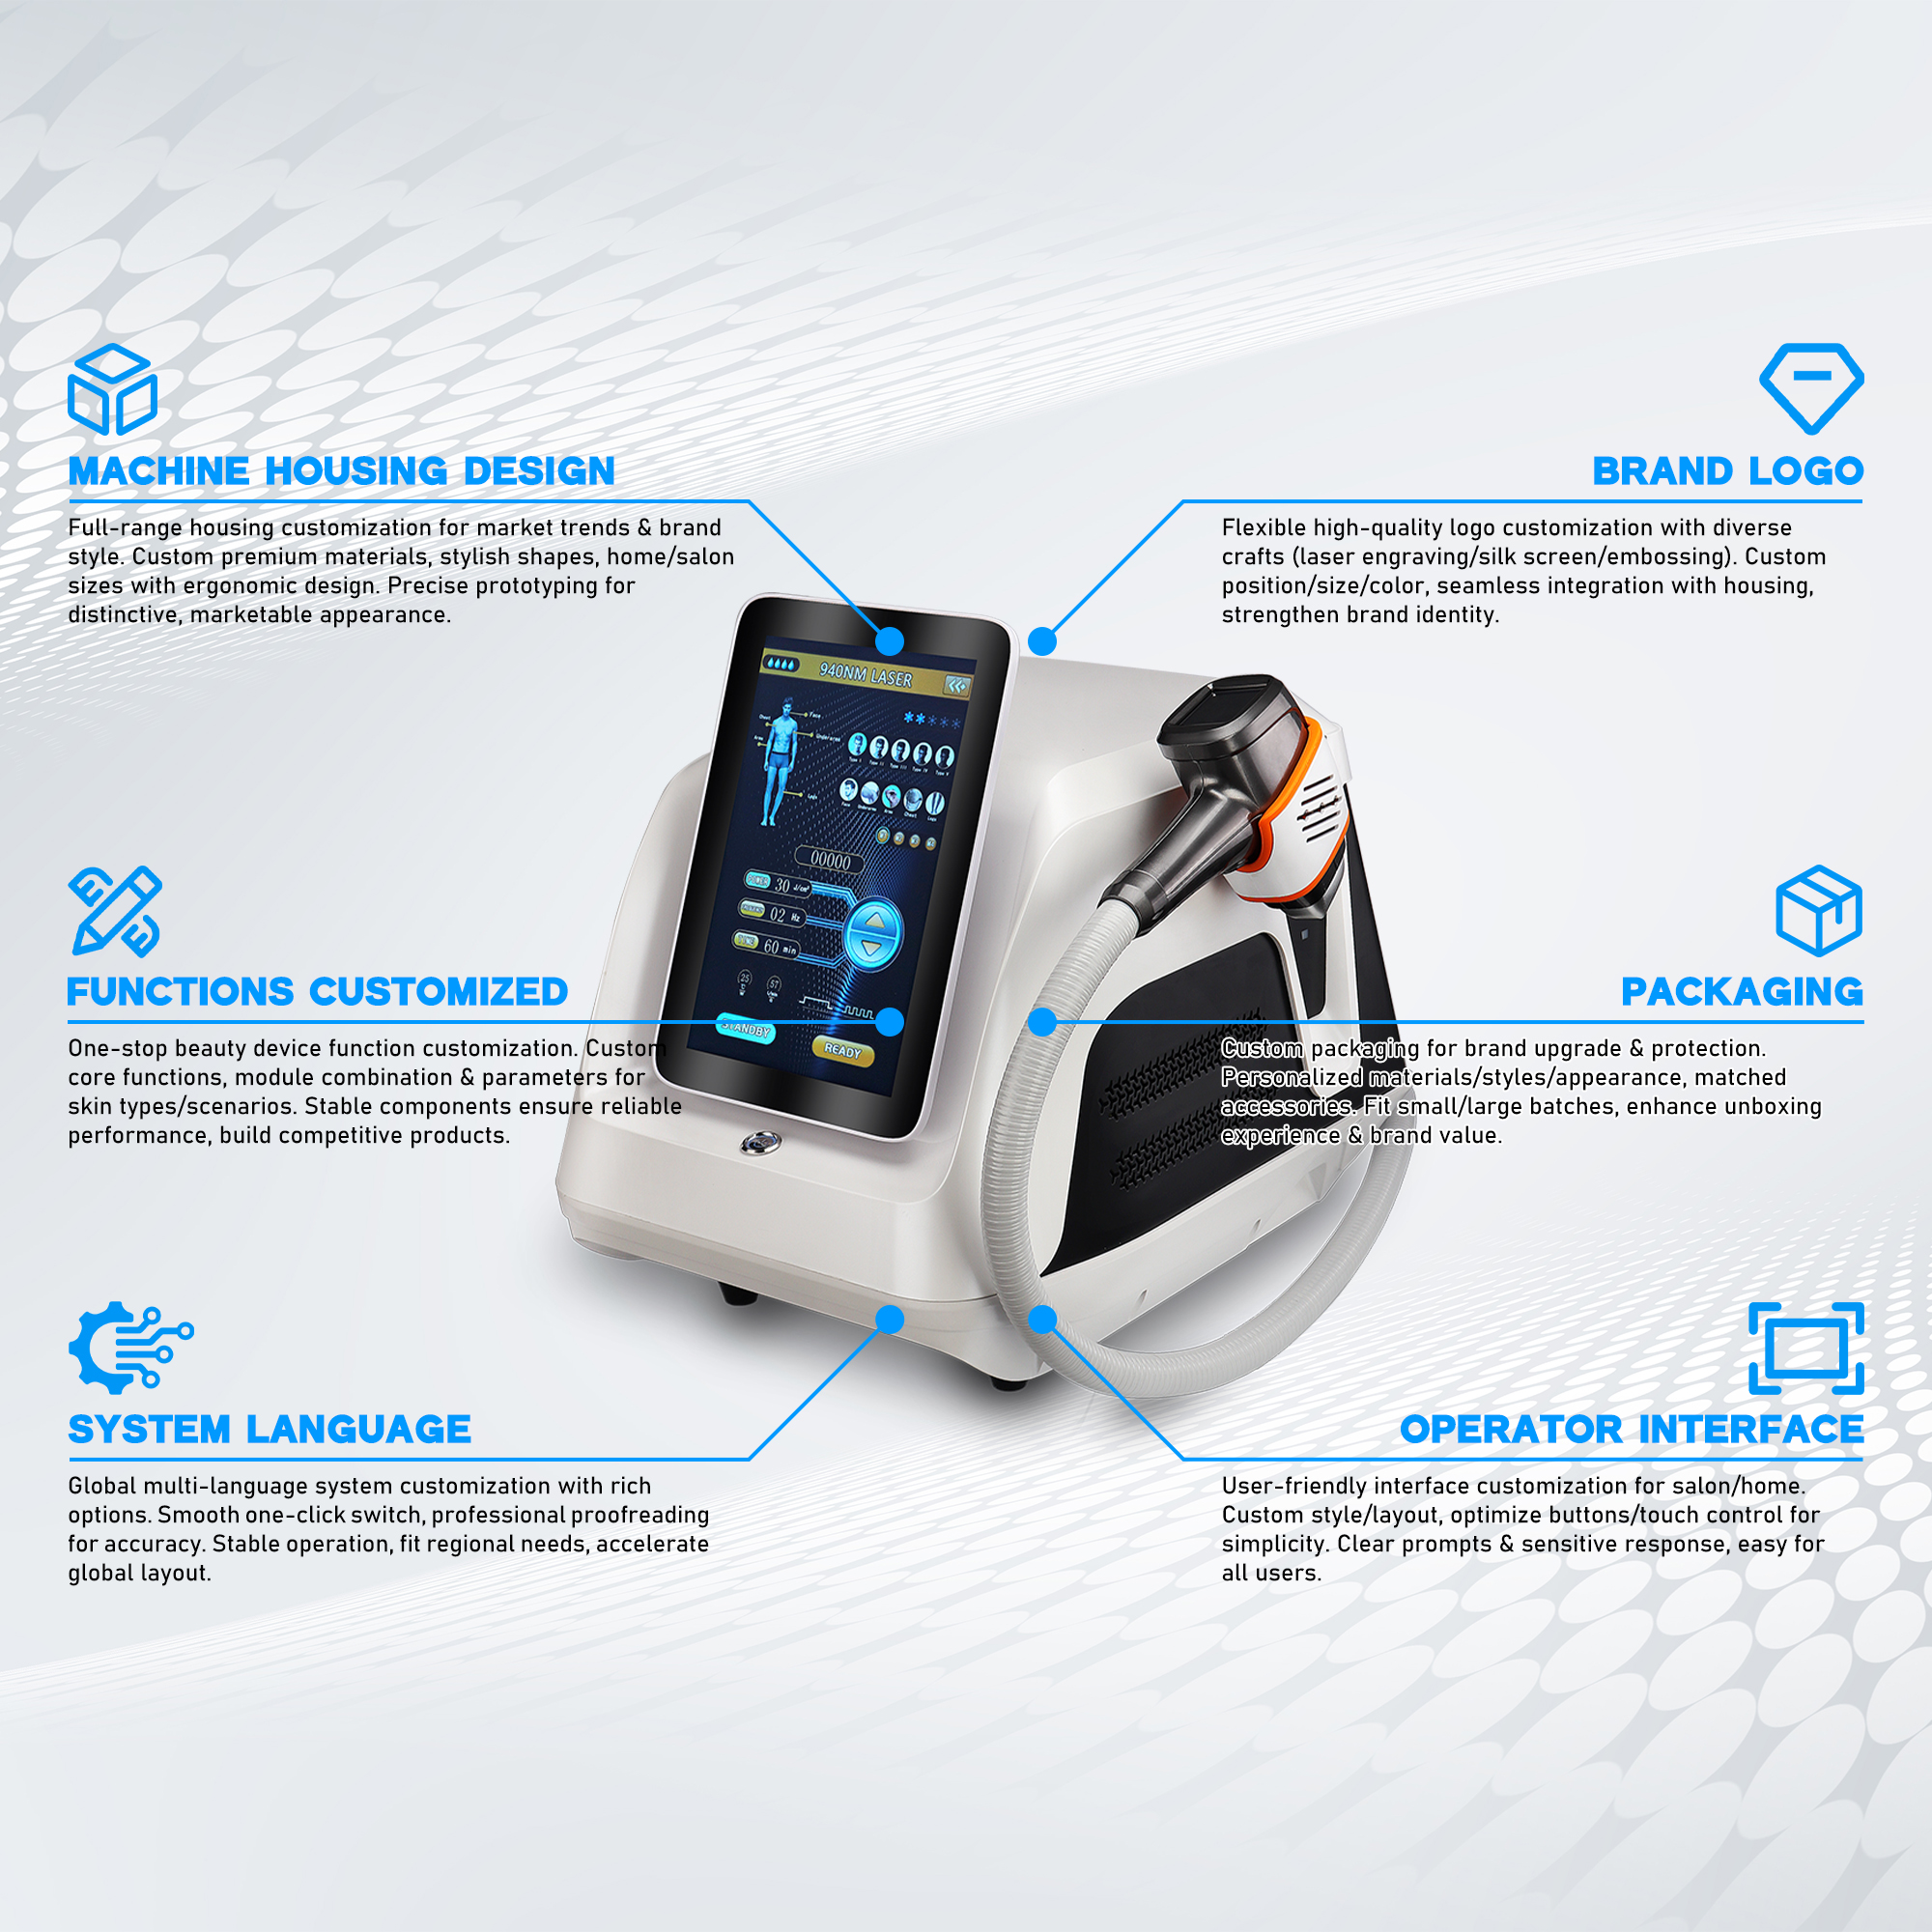
4. Step 3: Setting Up the Device Correctly
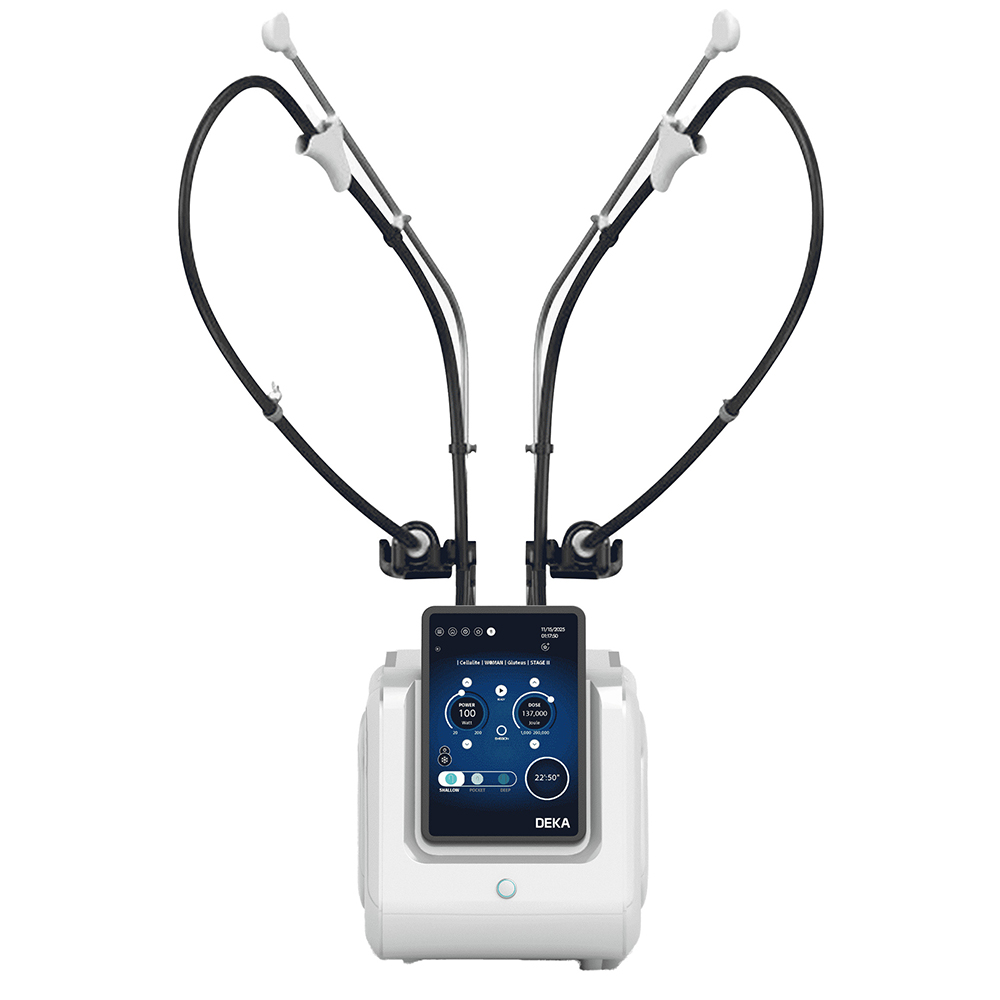
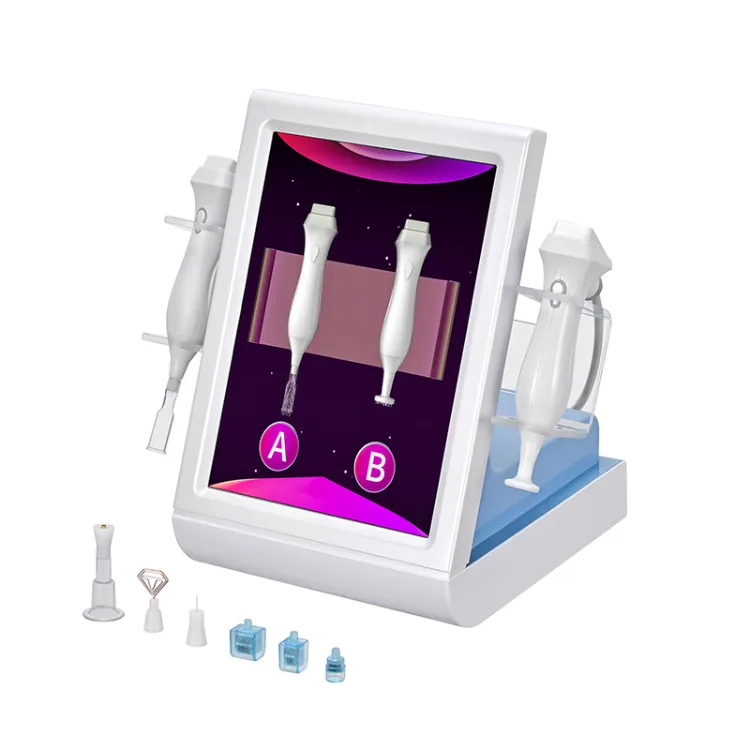
When using a professional-grade option such as the IPL Skin Rejuvenation Home Device, make sure to follow the manufacturer’s guidelines carefully (https://shefmon.com/product/a0423-laser/).
4.1 Start With the Lowest Energy Level
Beginners should always begin with the lowest intensity setting. Even if your skin tolerates it well, gradually increasing energy levels is safer than starting aggressively.
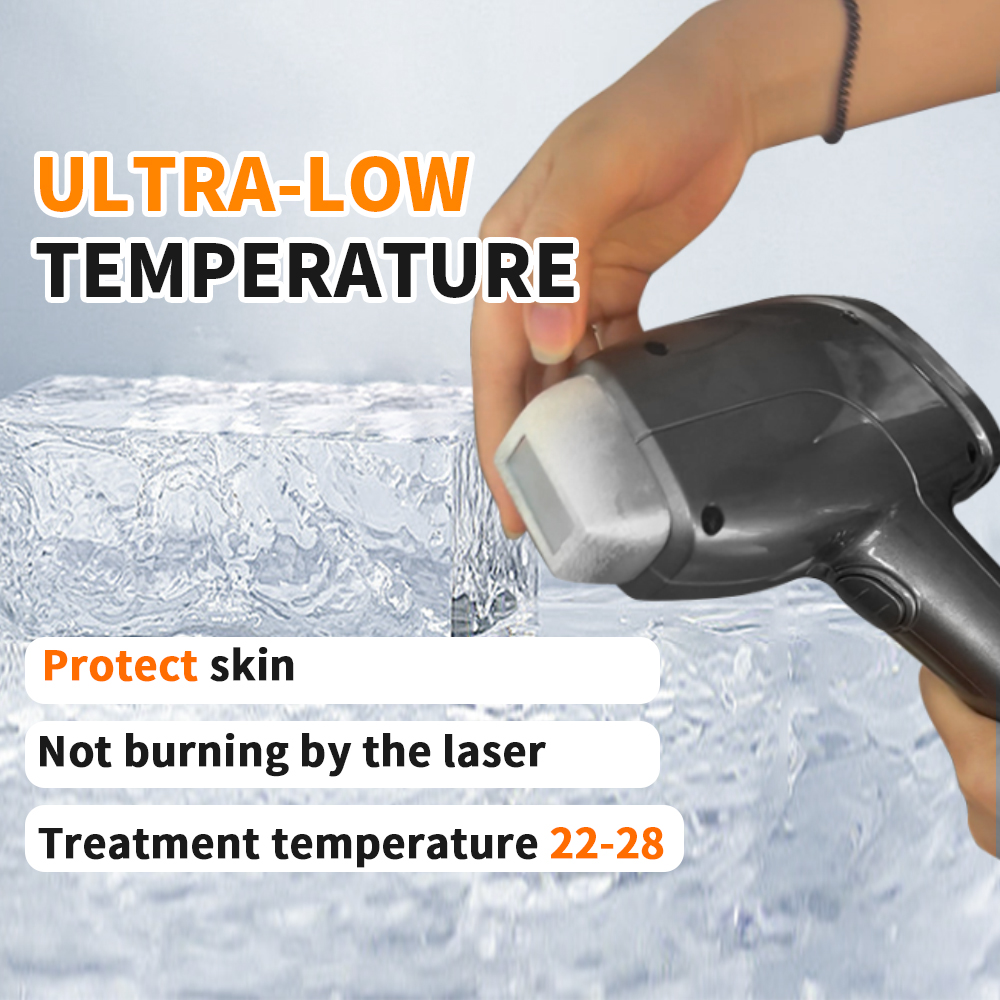
4.2 Ensure Proper Contact
Place the treatment window flat against the skin. Good contact ensures even energy delivery and minimizes the risk of burns or uneven results.
4.3 Use Protective Eyewear If Required
Some IPL systems require protective glasses. Never look directly at the flash.
5. Step 4: Follow a Structured Application Technique
5.1 Divide the Face into Sections
To avoid missed spots or excessive overlap, divide your face into manageable areas:
Forehead
Left cheek
Right cheek
Nose
Chin
Treat one section at a time.
5.2 Use a Grid-Like Motion
Apply pulses in a systematic, grid-like pattern. Slight overlap is acceptable, but avoid flashing the same area multiple times in one session.
5.3 Monitor Skin Reaction
A mild warming sensation or slight redness is normal. If you experience intense burning or pain, stop immediately and reduce the energy level next time.
For beginners, sessions typically last 10–20 minutes depending on the treatment area.
6. Step 5: Post-Treatment Care
Aftercare plays a major role in achieving optimal results.
6.1 Soothe and Hydrate
Apply a gentle, fragrance-free moisturizer or soothing gel such as aloe vera. Keep the routine simple for 48 hours.
6.2 Use Sunscreen Daily
Your skin becomes more sensitive to UV exposure after IPL treatment. Apply broad-spectrum SPF 30 or higher every day, even if you stay indoors.
6.3 Avoid Heat and Exfoliation
For at least 48 hours:
Avoid hot showers
Avoid saunas
Avoid chemical exfoliants
Avoid retinol
This allows the skin barrier to recover properly.
7. Step 6: Establish a Safe Beginner Schedule
Consistency is more important than intensity.
7.1 First Month
Use the IPL device once every 7–10 days.
7.2 Second Month
Continue treatments every two weeks as improvements become visible.
7.3 Maintenance Phase
Once desired results are achieved, maintain with one session every 4–6 weeks.
Pigmented spots may temporarily darken before gradually flaking off within 7–14 days. This is a normal part of the process.

8. Common Beginner Mistakes to Avoid
Starting with high energy settings
Skipping the patch test
Overlapping pulses excessively
Ignoring sunscreen
Expecting instant results
IPL delivers progressive improvements. Most users begin to notice visible changes after 3–4 sessions.
9. What Results Can Beginners Expect?
After 1 session: Brighter glow and improved clarity
After 3 sessions: Reduced redness and more even tone
After 6 sessions: Noticeable fading of pigmentation and smoother texture
Collagen remodeling continues over time, meaning improvements may appear gradually between treatments.
Conclusion
Following a structured Step-by-Step IPL Skin Rejuvenation Home Device routine ensures safe and effective results for beginners. By understanding the technology, preparing your skin properly, using conservative settings, and maintaining consistent sessions, you can achieve clearer, brighter, and more youthful-looking skin at home. Patience and proper technique are the keys to long-term success.
FAQ
1. Is IPL safe for beginners?
Yes, when used correctly with a patch test and proper preparation, IPL is generally safe for beginners.
2. Does IPL hurt?
Most people describe the sensation as a mild snapping feeling. Discomfort is minimal when starting with lower energy levels.
3. How many sessions are needed?
Typically, 6–8 sessions are needed for noticeable improvement, followed by maintenance treatments.
4. Can IPL remove deep wrinkles?
IPL mainly improves pigmentation and stimulates collagen. It may soften fine lines but is not designed for deep wrinkle removal.
5. Can I combine IPL with other treatments?
Yes, but avoid combining it with aggressive exfoliation or retinoids in the same week to prevent irritation.